How to Dry Flowers: A Fabulous Guide
UPDATED JULY 2024
The Art of Drying Flowers
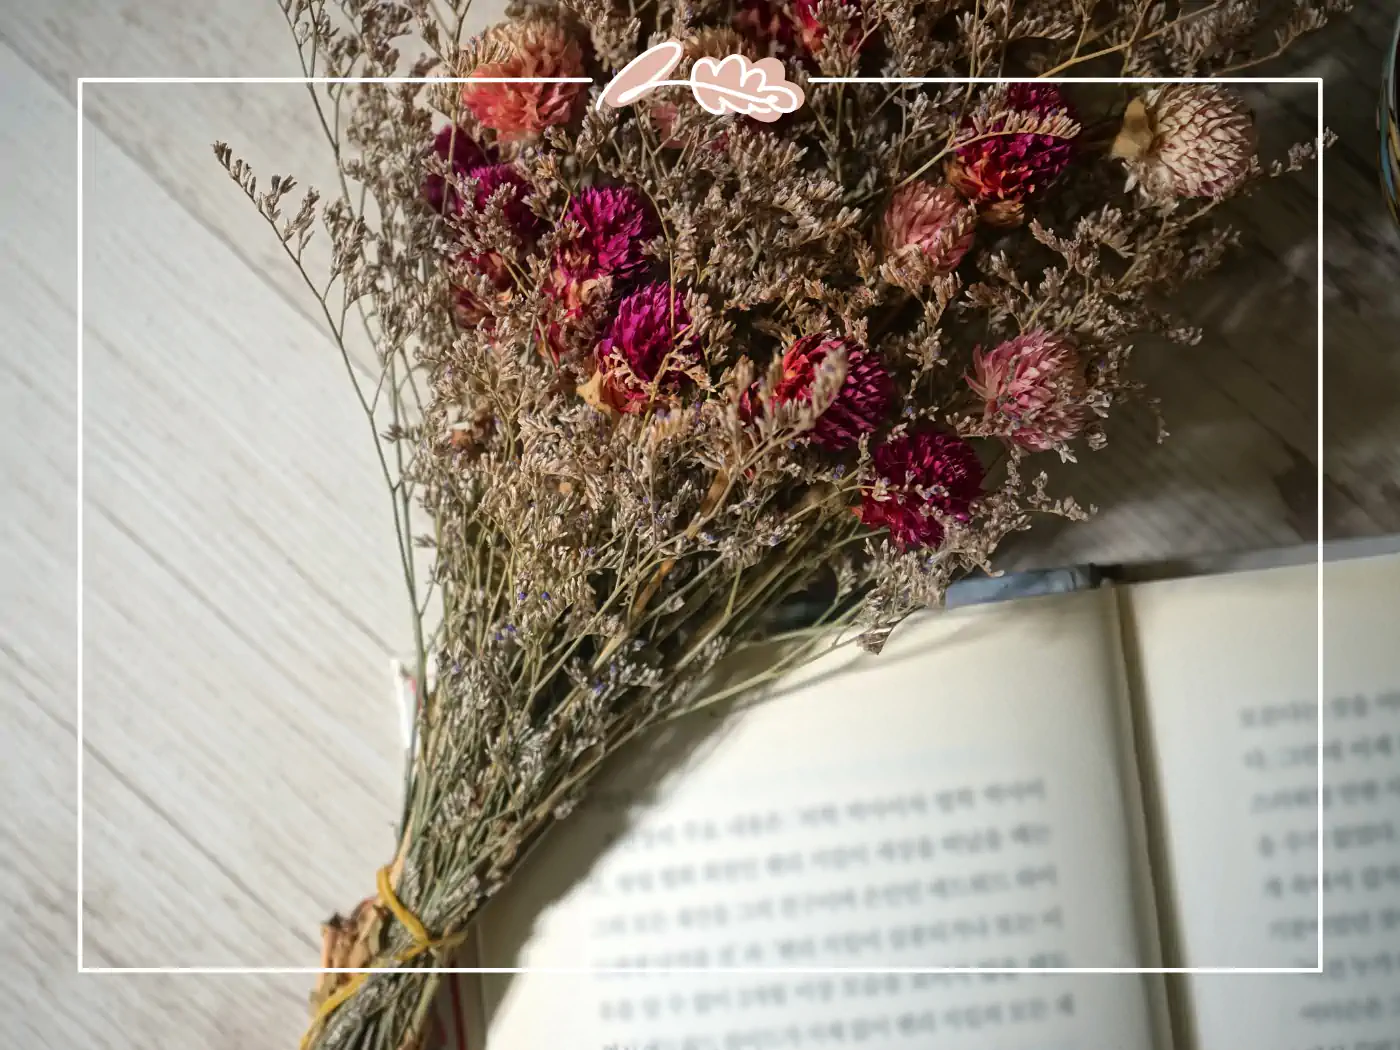
When it comes to capturing the fleeting beauty of flowers, there's no better way than drying them. Dried flowers make stunning decorations for your home or special occasions and serve as a timeless keepsake, preserving cherished memories for years.
Whether you want to preserve a bouquet from a special occasion or enjoy the beauty of your garden throughout the year, learning how to dry flowers is a valuable skill.
This comprehensive guide will take you through the step-by-step process of drying flowers, sharing expert tips and techniques to ensure your success.
How to Dry Flowers
Drying flowers is a simple and rewarding process. You can also preserve flowers in vibrant colours and delicate forms by removing moisture from the petals.
Whether using fresh flowers from your garden or a bouquet, the steps to dry them remain the same. Here's a step-by-step guide on how to dry flowers:
Gather your materials
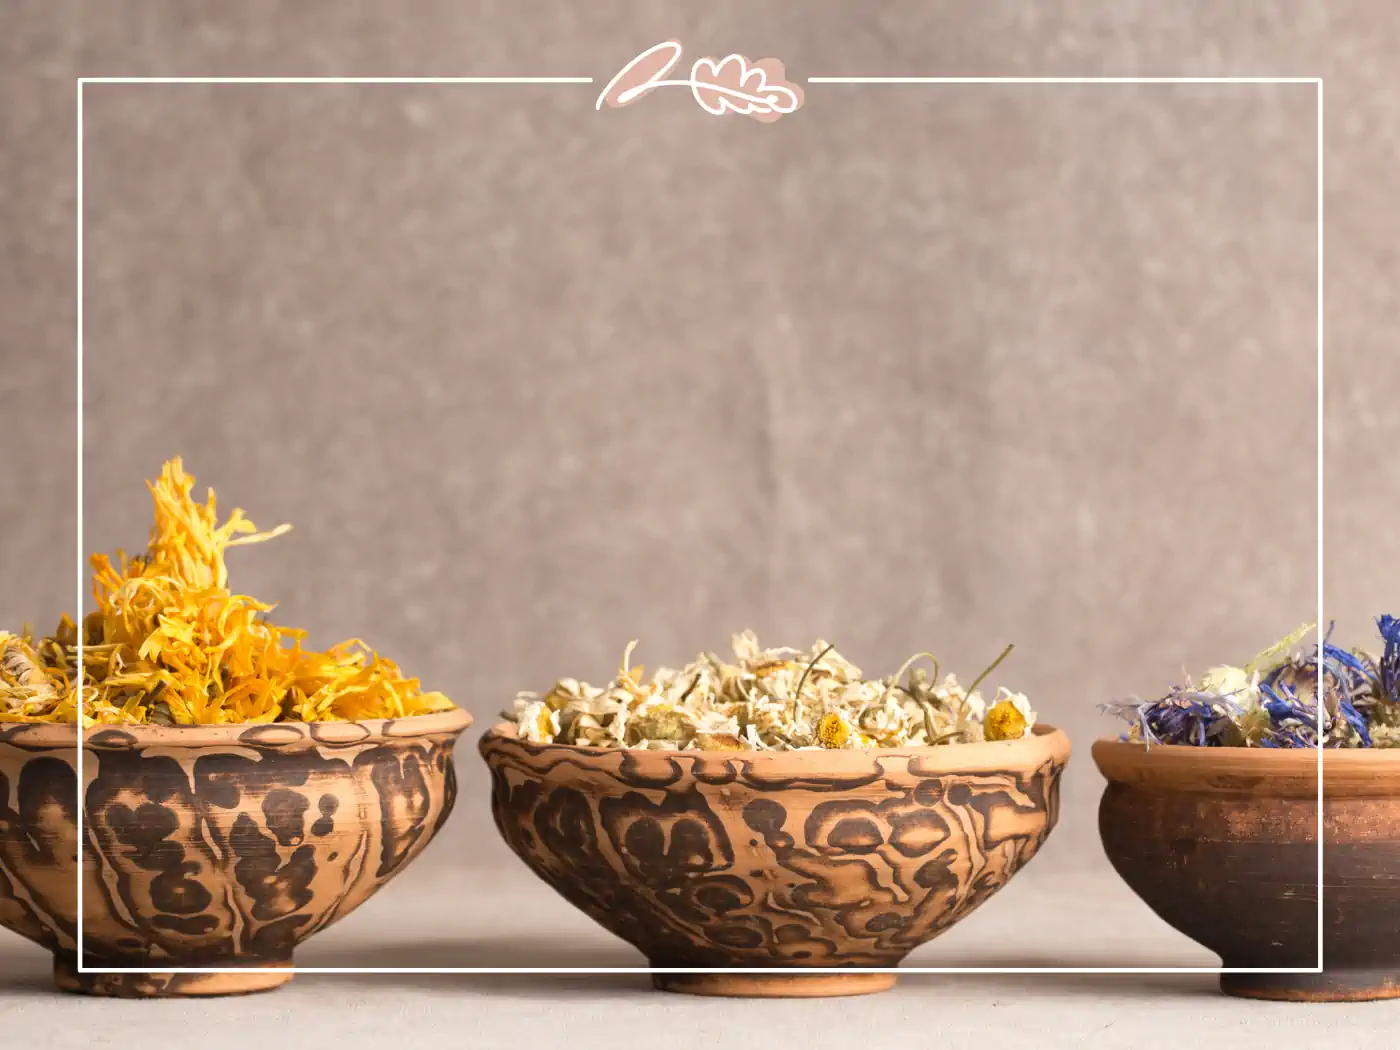
To begin flower-drying art, gather the necessary materials. You will need fresh flowers, pruning shears, twine or string, a dark and well-ventilated space, and desiccants such as silica gel, silica beads, or sand optionally.
Please choose the right flowers
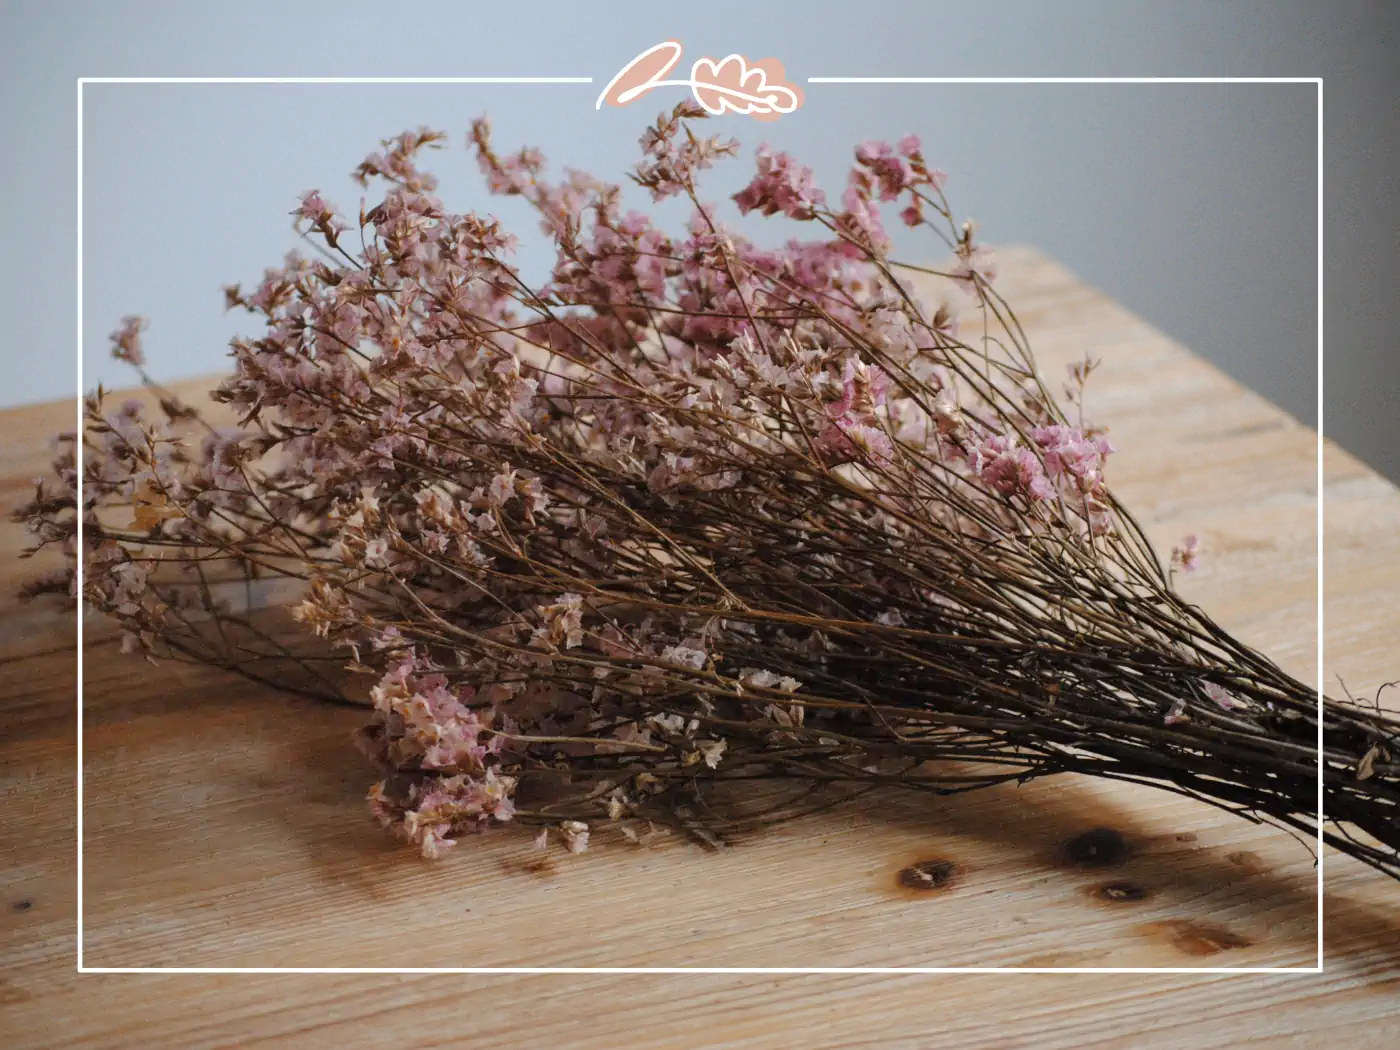
Not all flowers dry well, so choosing suitable varieties for drying is important. Some popular options include roses, lavender, baby's breath, hydrangeas, and statice. When dried, these flowers retain their shape and colour, making them ideal for preservation.
Harvest flowers at the right time
Timing is crucial when drying flowers. Harvest them at their peak, just before they fully bloom. Flowers harvested too early or too late may not dry properly.
Remove excess foliage
Remove any excess foliage from the stems, which can lead to mould and hinder drying. Leave a few leaves near the top of the stem for aesthetic purposes.
Bundle the flowers
Take a small bunch and tie the stems together with twine or string. Make sure the bundle is not too large to allow proper air circulation.
Hang the flowers upside down
Find a dark, dry, and well-ventilated area to hang the flower bundles. The chosen location should be away from direct sunlight, which can cause the flowers to fade. Hang the bundles upside down from a hook or a clothesline, ensuring they do not touch each other.
Patience is key
Allow the flowers to dry naturally for several weeks. The drying time will vary depending on the flower type and environmental conditions. Be patient and avoid the temptation to check on them too often, as this can disrupt the drying process.
Check for dryness
Check if the flowers are completely dry after a few days or a few weeks each. They should feel crisp to the touch and retain their shape. If they are still slightly soft or pliable, give them more time to dry.
Revive the dried flowers (optional)
If they appear a bit lacklustre, you can spruce them by lightly misting them with hairspray or a clear acrylic sealer. This will help preserve their colour and protect them from damage.
Store the dried flowers
Carefully remove them from the hanging bundles once they are fully dry. Store them in airtight containers or display them in vases or shadow boxes to enjoy their beauty.
Properly stored dried flowers can be considered preserved flowers and can last for a long time.
Why Dry Flowers?
Drying flowers offers a range of benefits. Here are a few reasons why you might want to try other methods of preserving flowers:
Long-lasting beauty: Dried flowers retain their beauty for an extended period, allowing you to enjoy them for months or even years. They make excellent decorations for your home or events, adding a natural elegance.
Sentimental value: Dried flowers hold sentimental value, reminding you of special occasions, loved ones, or significant moments. They can be incorporated into crafts or kept as souvenirs, serving as a constant reminder of cherished memories.
Cost-effective: Drying flowers save money, especially if you have a garden or access to fresh blooms. Instead of purchasing expensive dried flower arrangements, you can create your unique designs at a fraction of the cost.
Endless creative possibilities: Dried flowers are versatile and can be used in various craft projects. The possibilities for creativity are endless, from wreaths and potpourri to framed displays and handmade cards. Let your imagination run wild, and explore different ways to incorporate dried flowers into your DIY projects.
Preserve seasonal beauty: Drying flowers allows you to capture the beauty of seasonal blooms and enjoy them year-round. Whether it's the vibrant colours of spring or the rich hues of autumn, you can preserve the essence of each season through dried flowers.
Environmentally friendly: By drying flowers, you contribute to reducing waste. Instead of disposing of wilted flowers, you give them a new lease on life, minimizing your environmental impact.
The Best Flowers for Drying
Not all flowers are suitable for drying. Some flowers retain their colour and shape better than others when subjected to the drying process. Here are some of the best flowers for drying:
Roses: Roses are classic flowers that dry beautifully. Their petals maintain shape and colour, making them a popular choice for dried arrangements.
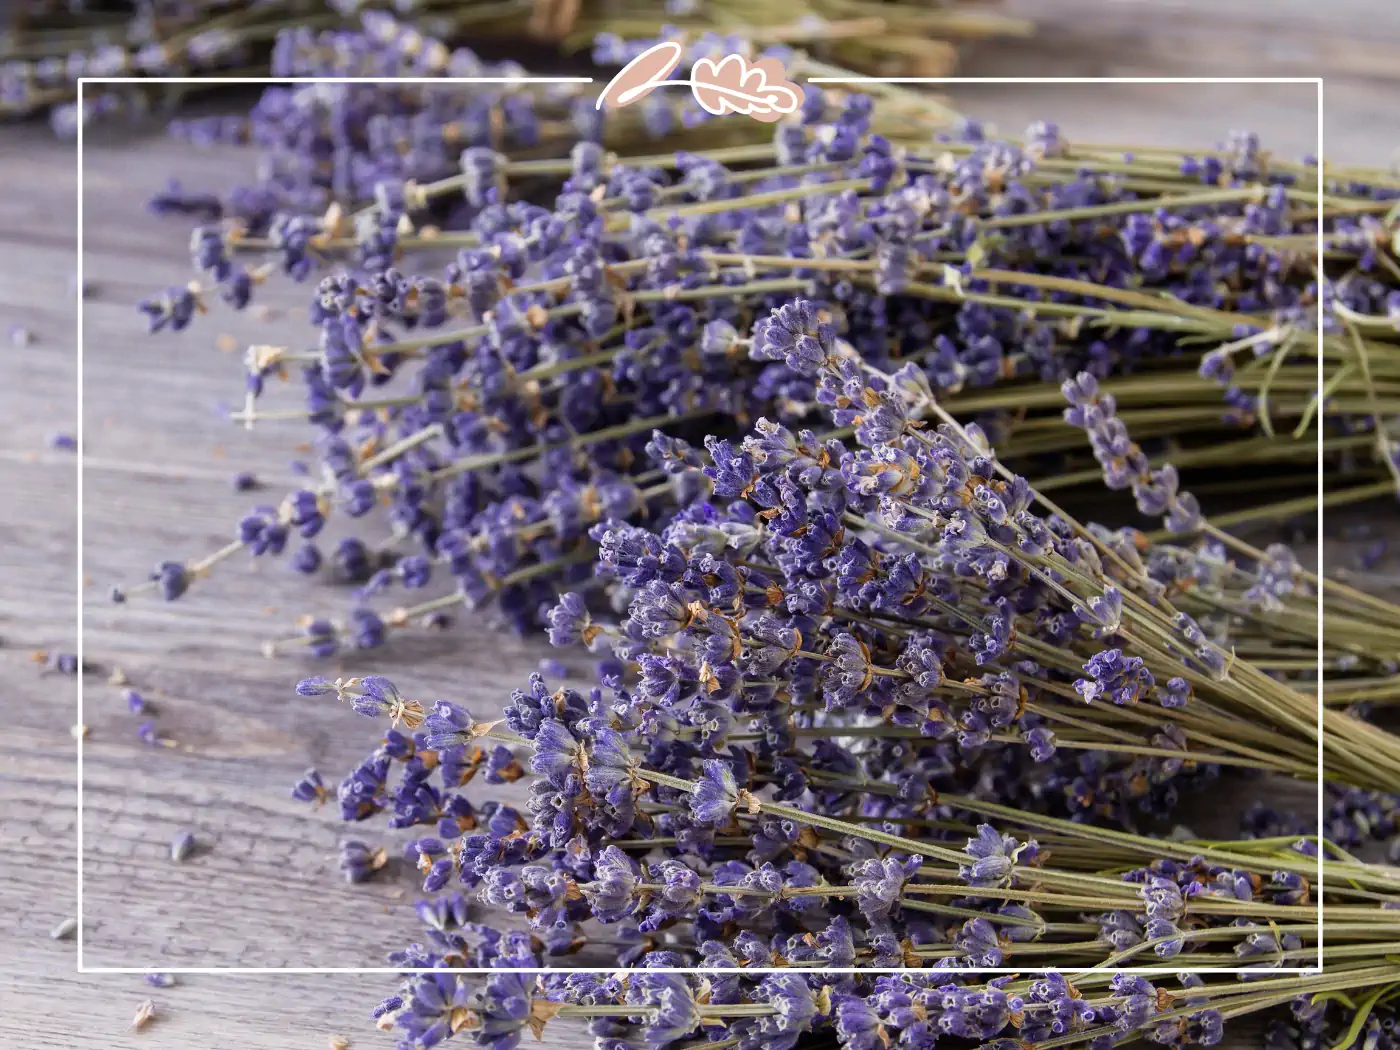
Lavender: Known for its lovely fragrance, lavender also dries exceptionally well. The dried flowers can be used in potpourri, sachets, or culinary applications.
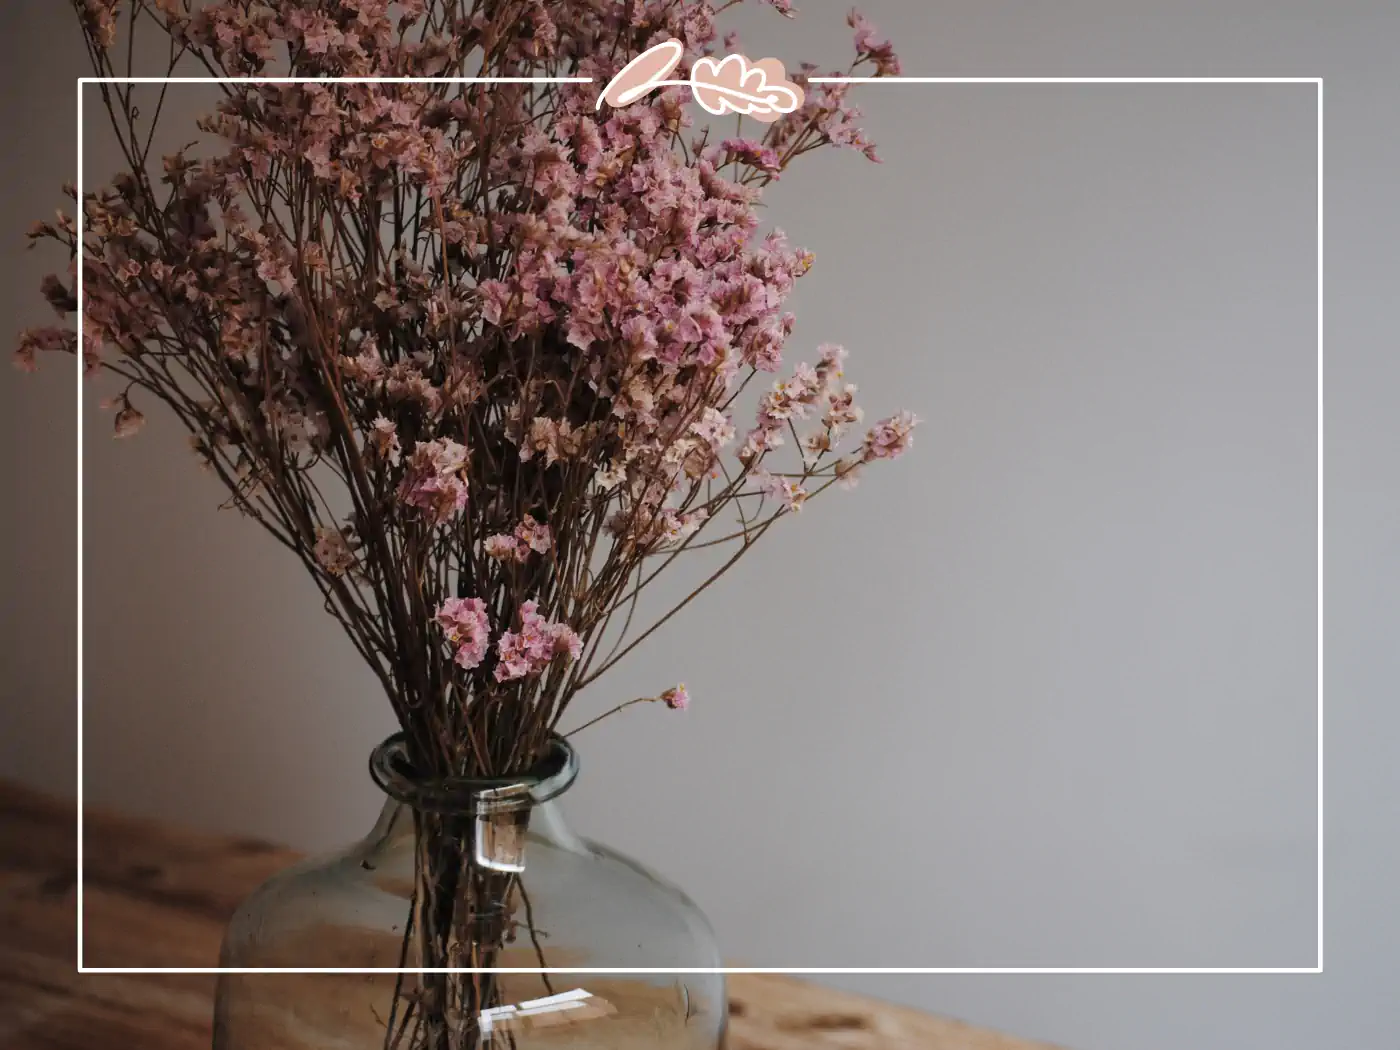
Baby's Breath: This delicate, airy flower dries effortlessly and maintains charm. It is often used as a filler in dried flower arrangements.
Hydrangeas: Hydrangeas are known for their voluminous blooms; most flowers dry well and retain their unique colours, including shades of blue, pink, and green.
Statice: Statice, or sea lavender, is a hardy flower that retains its vibrant colours when dried. It is often used in dried flower bouquets and wreaths.
Eucalyptus: While not technically a flower, eucalyptus leaves and branches are widely used in dried flower arrangements. They add a touch of greenery and a pleasant fragrance.
These are just a few examples, but many other flowers, such as strawflowers, globe amaranth, and celosia, also dry well. Experiment with different varieties to discover your favourites.
Different Methods of Drying Flowers
Air Drying Flowers
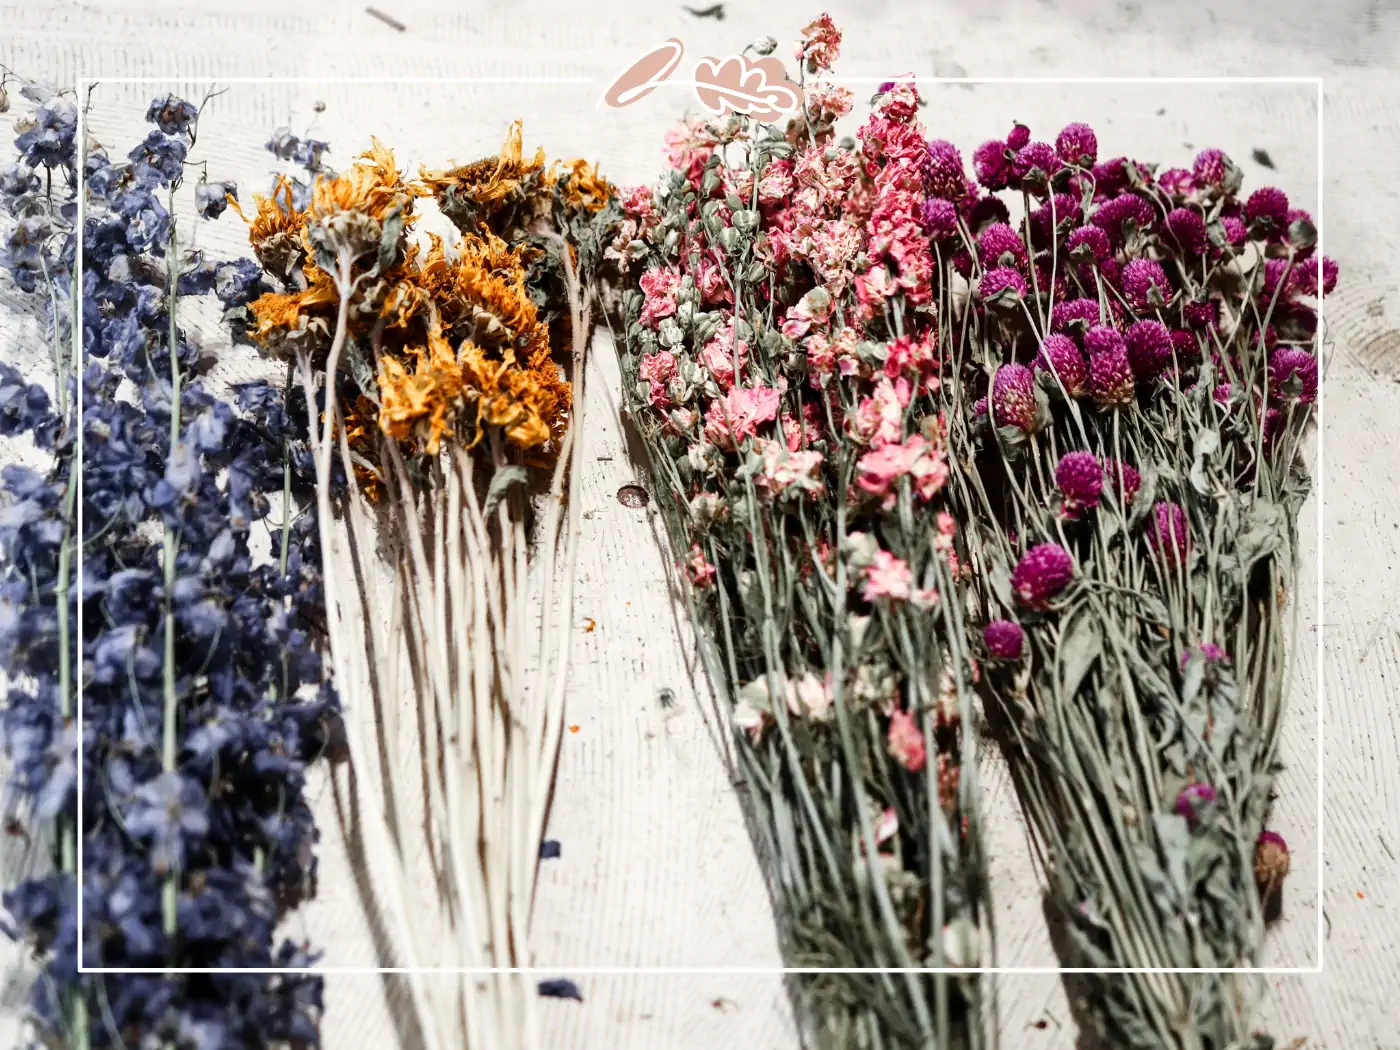
Air drying is one of the simplest and most traditional flower drying methods. It involves hanging the flowers upside down in a well-ventilated area, allowing them to dry naturally. Here’s how to air-dry flowers:
Gather a small bunch of flowers
Select a few flowers with similar bloom times and remove any excess foliage.
Tie the stems together
Use twine or string to tie the stems together, creating a bundle. Be sure to secure the bundle tightly.
Choose a suitable location
Find a dark and dry area with good air circulation. A closet, attic, or unused room can work well.
Hang the flowers upside down
Attach the whole flower head or bundle to a hook or clothesline upside-down. This allows for better air circulation and helps the flowers retain their shape.
Patience is key
Allow the flowers to dry undisturbed for several weeks. Check on them occasionally to ensure no mould or mildew is developing.
Check for dryness
Check the flowers after a few days or weeks. If they are crisp to the touch and retain their shape, they are ready to be removed from the drying location.
Air drying works best for flowers with sturdy stems and petals that maintain their shape well, such as roses, lavender, and static.
Silica gel dried flowers, on the other hand, offer a faster drying process and can preserve the vibrant colors and delicate details of the flowers, although they may be more fragile and their long-term stability can be uncertain.
Pressing Flowers
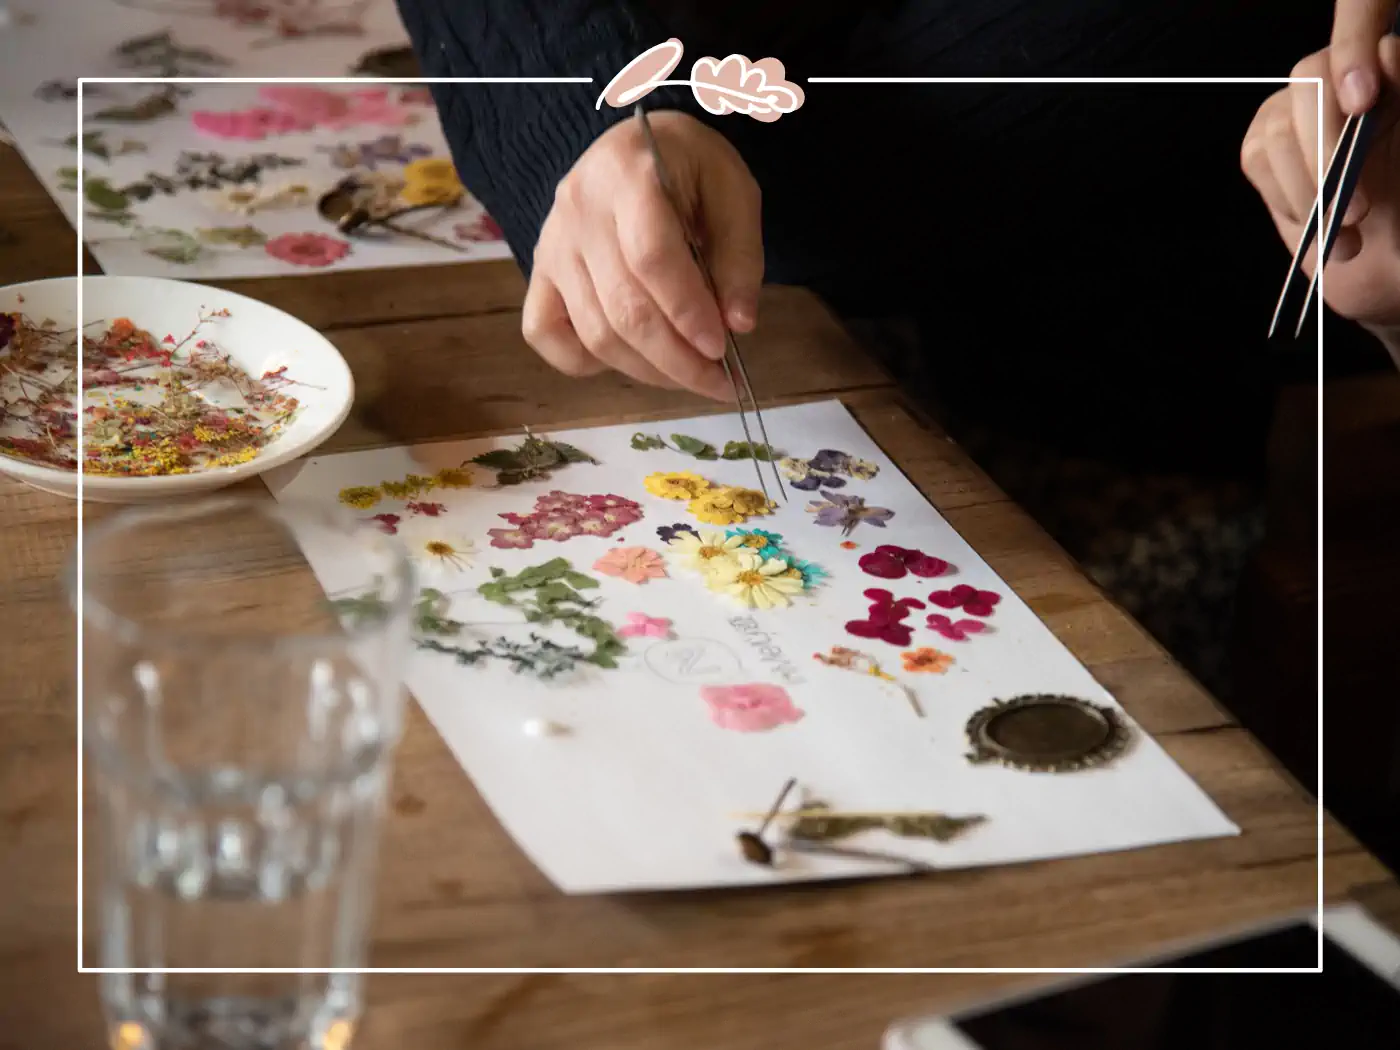
Pressing flowers is a method that involves flattening flowers between heavy objects to preserve their appearance. Pressed flowers can be used in various crafts, including greeting cards, bookmarks, and framed displays.
Here's how to press flowers:
Choose fresh flowers: Select flowers that are in full bloom but not overly mature. Flowers with thin petals work best for pressing.
Prepare the flowers: Gently remove any excess moisture from the flowers by blotting them with a paper towel. Trim the stems to the desired length.
Arrange the flowers: Lay them flat on a clean sheet of absorbent paper, ensuring they don't overlap. Arrange them in a way that showcases their natural beauty.
Place heavy objects: Carefully place another sheet of absorbent paper on the flowers. Then, place heavy objects, such as books or weights, on top of the paper to press the flowers flat.
Allow time for pressing: Leave the flowers pressed for about two to four weeks. Check on them periodically to ensure they are drying properly, and replace the absorbent paper if it becomes damp.
Remove the pressed flowers: Once the flowers are fully dried and flattened, gently remove them from the absorbent paper. Handle them with care to prevent any damage.
Pressing flowers is a delicate process that works best for flowers with thin petals, such as pansies, daisies, and violets.
Using Desiccants to Dry Flowers
Desiccants, such as silica gel or sand, absorb moisture and help speed up drying. They are particularly useful for drying flowers with delicate or intricate shapes.
Here's how to use desiccants to dry flowers:
Please choose a suitable container: Select a large container to hold the flowers without crowding them. Ensure the container has a lid to create a sealed environment.
Prepare the flowers: Trim the stems of the flowers and remove any excess foliage. This helps the flowers dry more evenly.
Create a desiccant layer: Pour a desiccant, such as silica gel or sand, into the bottom of the container. The layer should be about an inch thick.
Place the flowers: Carefully place them on top of the desiccant, ensuring they are not touching each other or the sides of the container.
Cover with desiccant: Gently pour over the flowers, ensuring they are fully covered. The desiccant helps absorb moisture from the flowers.
Seal the container: Close the lid tightly to create a sealed environment. This helps trap all the moisture in and speed up the drying process.
Allow time for drying: Leave the flowers in the desiccant for about one to two weeks. The drying time may vary depending on the the flower's color type and thickness.
Carefully remove the flowers: Carefully remove them from the desiccant once they are fully dried. Use a soft brush to remove any remaining desiccant from the petals gently.
Using desiccants is an effective method for preserving flowers with intricate shapes or delicate petals, such as orchids, lilies, and delphiniums.
Microwave Drying
If you're short on time and need a microwave method to dry flowers quickly, the microwave method of drying is a viable option.
This drying method uses the microwave's heat to evaporate moisture from the flowers. Here's how to dry flowers in the microwave:
Prepare the flowers: Trim the stems of the flowers and remove any excess foliage. Place the flowers in a microwave-safe container.
Cover with a desiccant: Pour a desiccant, such as silica gel or kitty litter, into the container, covering the flowers completely. The desiccant helps absorb moisture from the flowers during the drying process.
Microwave in intervals: Place the container with the flowers and desiccant in the microwave. Set the microwave to a low power setting, such as 30% or 50%, to prevent overheating. Microwave the flowers in short intervals of 30 seconds to 1 minute.
Check for dryness: After each interval, carefully remove the container from the microwave and check the flowers for dryness. If they are still moist, continue microwaving in short intervals until they are completely dry.
Cool and remove the flowers: Once dry, allow them to cool inside the microwave for a few minutes. Then, carefully remove them from the container, brushing off any remaining desiccant.
Note: It's essential to monitor the flowers closely during microwave drying to prevent overheating or scorching. Be cautious and follow the recommended power setting and time intervals.
Microwave drying is quick but may not be suitable for all flower types. It is best for flowers with thicker petals, such as sunflowers, zinnias, and marigolds.
Flower Drying Agents
Flower drying agents, such as silica gel and sand, are commonly used to speed up drying and preserve flowers’ natural shape and colour. Let’s explore these other drying methods and agents:
Silica Gel: Silica gel is a granular substance that absorbs moisture efficiently. It is readily available in most craft stores or online. Silica gel can be reused multiple times by regenerating it in the oven. To reuse silica gel, simply heat it in the oven at 250°F until the crystals return to their original colour, indicating they are ready to absorb moisture again.
Sand: Clean, dry sand is another option for silica gel for drying flowers. It absorbs moisture effectively and is readily available. However, it may not be as efficient as the silica gel drying method.
When using drying agents, follow the specific instructions provided with the product. Spread the drying agent in a container, bury the flowers gently, and allow them to dry for the recommended time.
Prepping Flowers for Drying
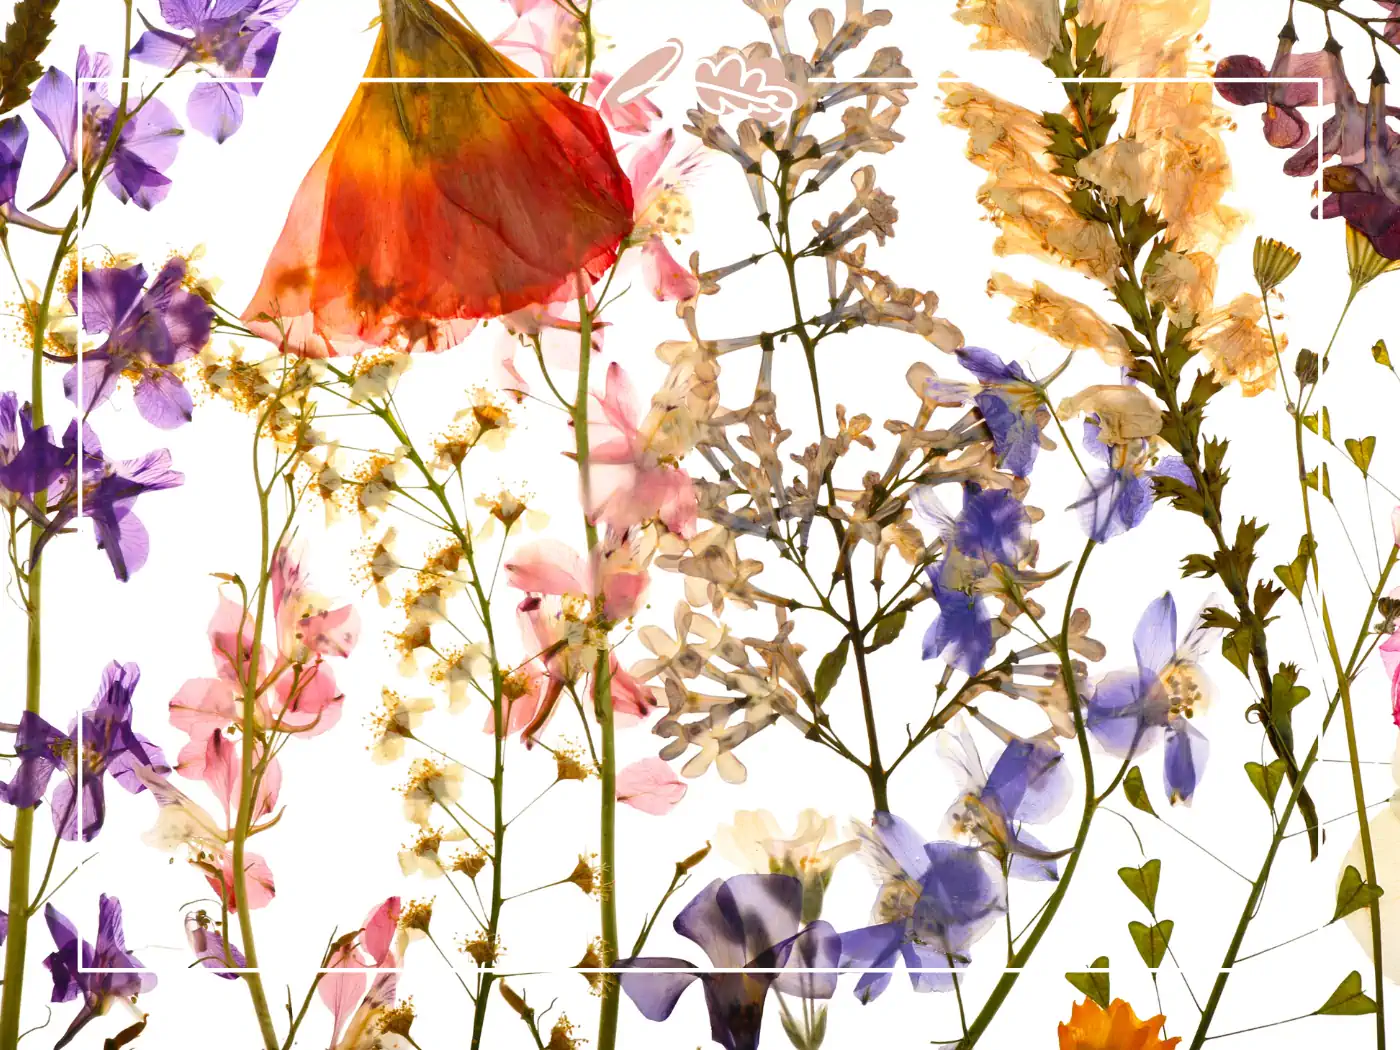
Properly preparing flowers before the drying process is crucial for achieving successful results. Here are some essential steps to follow:
Choose flowers at their peak: Select flowers in their prime, just before they bloom. This ensures that the flowers have vibrant colours and optimal petal quality.
Remove excess foliage: Trim the stems of the flowers, removing any leaves or foliage below the waterline or drying agent. Excess foliage can lead to mould and hinder the drying process.
Group similar blooms: Bundle flowers with similar bloom times together. This allows for consistent drying and prevents flowers from wilting prematurely.
Consider stem length: Trim the stems to a desired length, typically 6 to 8 inches, depending on your preferences and the intended use of the dried flowers.
Taking these steps ensures that the flowers are in the best condition for the drying process, leading to optimal results.
The Best Time to Harvest Flowers for Drying
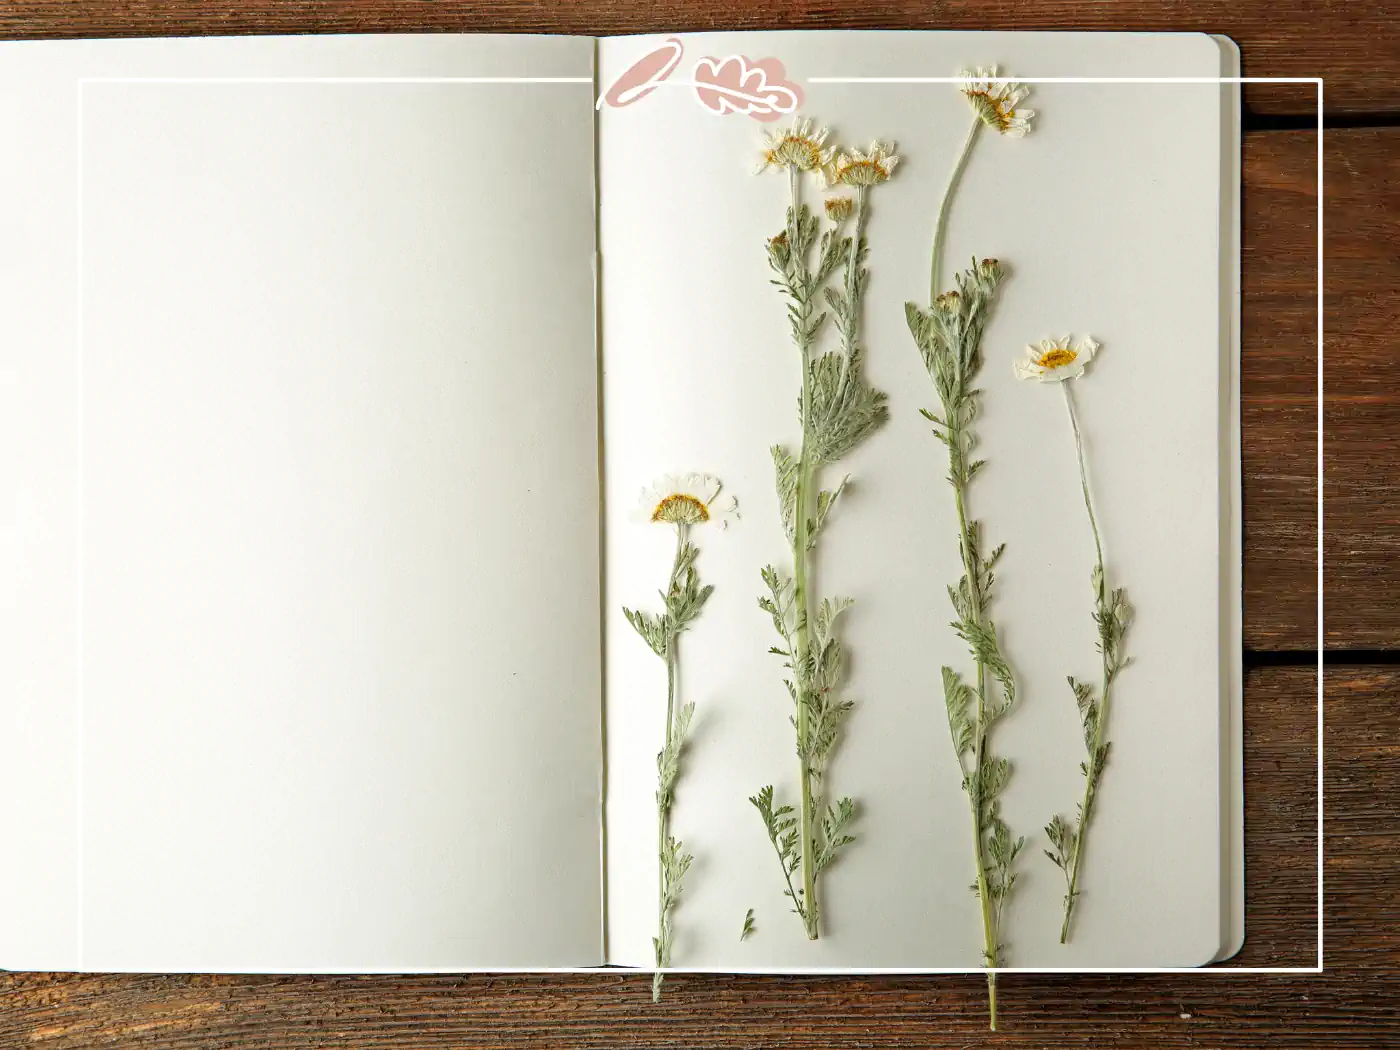
Timing is crucial when it comes to harvesting flowers for drying. Picking the flowers at the right stage ensures they retain their colour, shape, and fragrance throughout the drying process. Here are some guidelines for harvesting flowers:
Morning harvest: Harvest flowers in the morning, preferably after the dew has evaporated. This is when the flowers are fully hydrated and at their freshest.
Choose fully formed flowers: Select fully formed and developed petals. Avoid flowers flower petals that are just budding or showing signs of wilting.
Avoid rainy or humid days: Harvest flowers on dry days, as excess moisture can hinder the drying process and potentially lead to mould or rot.
Proper Flower Handling
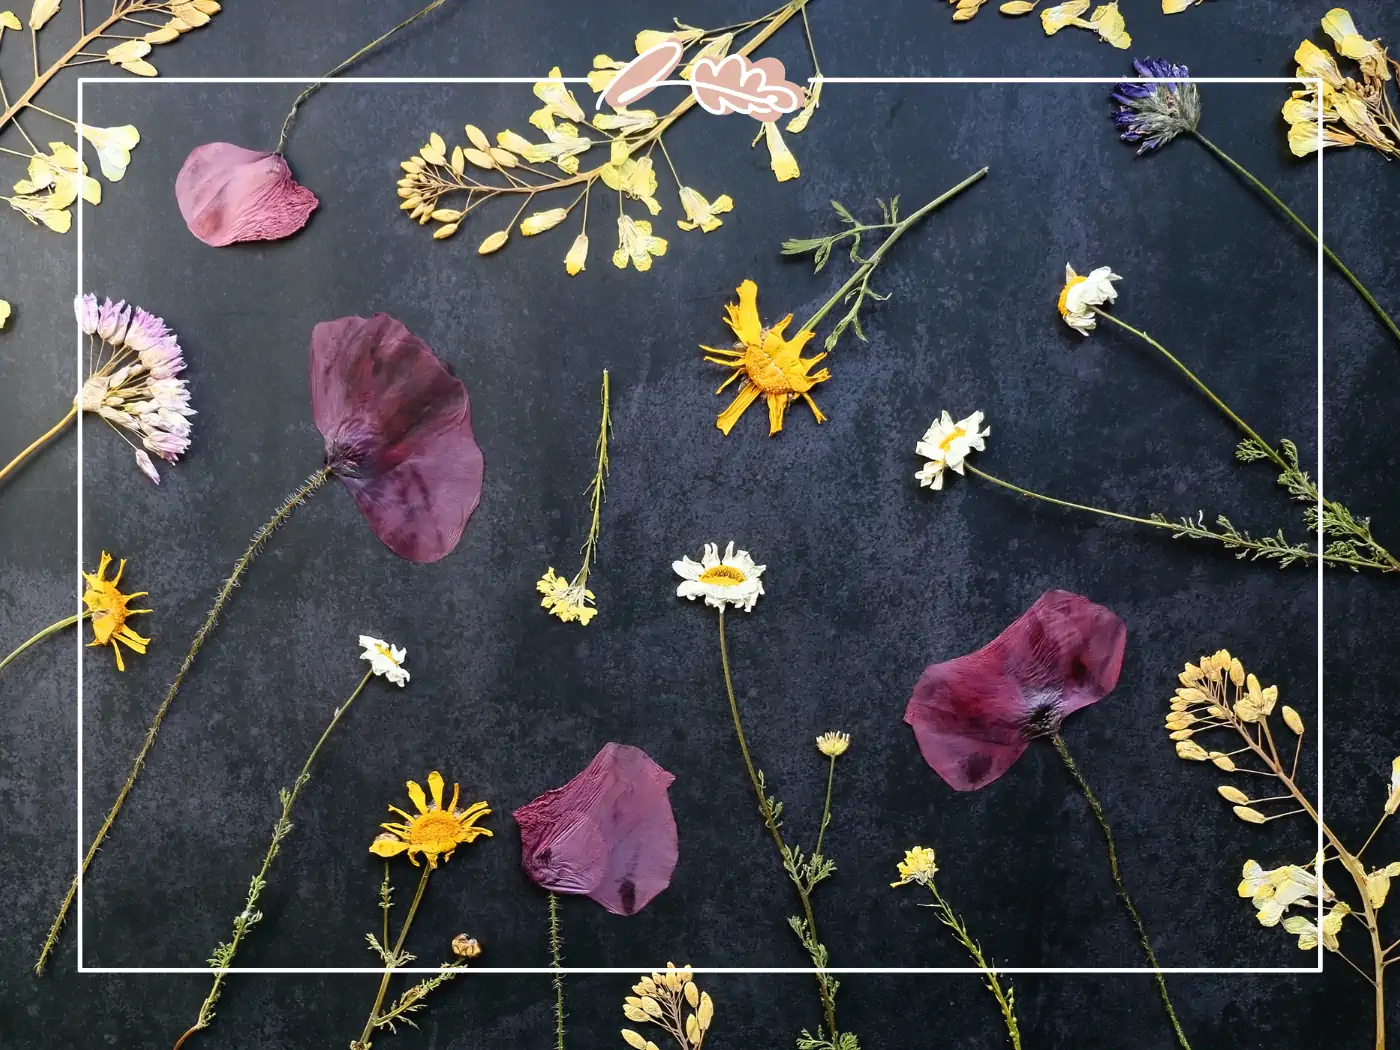
Proper handling of flowers during the drying process is essential to maintain their shape and colour. Here are some tips for handling flowers:
Please handle with care: Flowers are delicate, so handle them gently to prevent petals from bruising or breaking. Hold the flowers by the stems rather than the petals.
Avoid touching petals: Minimize contact with them as much as possible to preserve their natural shape and prevent oil transfer from your hands.
Protect fragile flowers: If you're drying fragile flowers, such as orchids or lilies, consider using a mesh or netting to support the blooms and prevent them from losing their shape during the drying process.
Remove damaged petals: If you notice any damaged or wilted petals, gently remove them before drying. This helps maintain the overall appearance of the dried flowers.
Handling dry your flowers carefully with silica gel ensures they retain their beauty and integrity throughout the drying process.
Avoiding Mould and Mildew
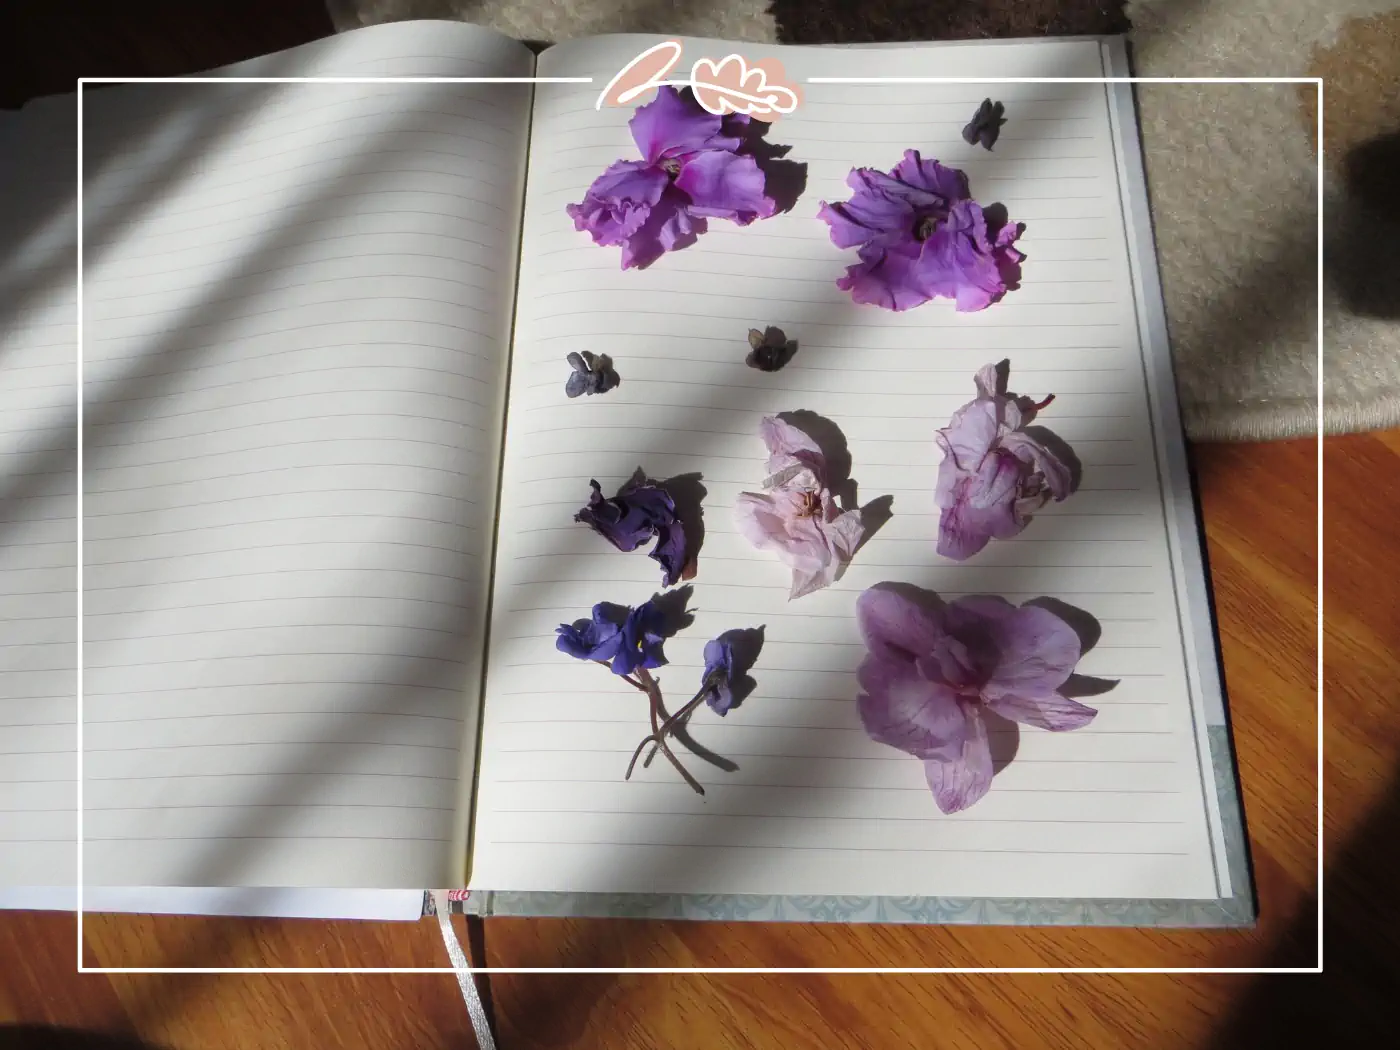
Mould and mildew can be common when drying flowers, especially in humid environments. To prevent the growth of mould and mildew, follow these tips:
Choose a well-ventilated area: Select a location with good air circulation to prevent moisture buildup. This helps to keep the flowers dry and discourages mould growth.
Avoid high humidity: Dry flowers in an area with low humidity. High humidity can prolong drying and create an environment conducive to mould growth.
Check for signs of mould: Regularly inspect the drying flowers for any signs of mould or mildew. Remove the affected flowers immediately if you notice any fuzzy growth or discolouration.
Use drying agents: Using drying agents like silica gel or sand helps absorb excess moisture and prevent mould growth. Ensure the drying agent is dry and free from contaminants before using it with your flowers.
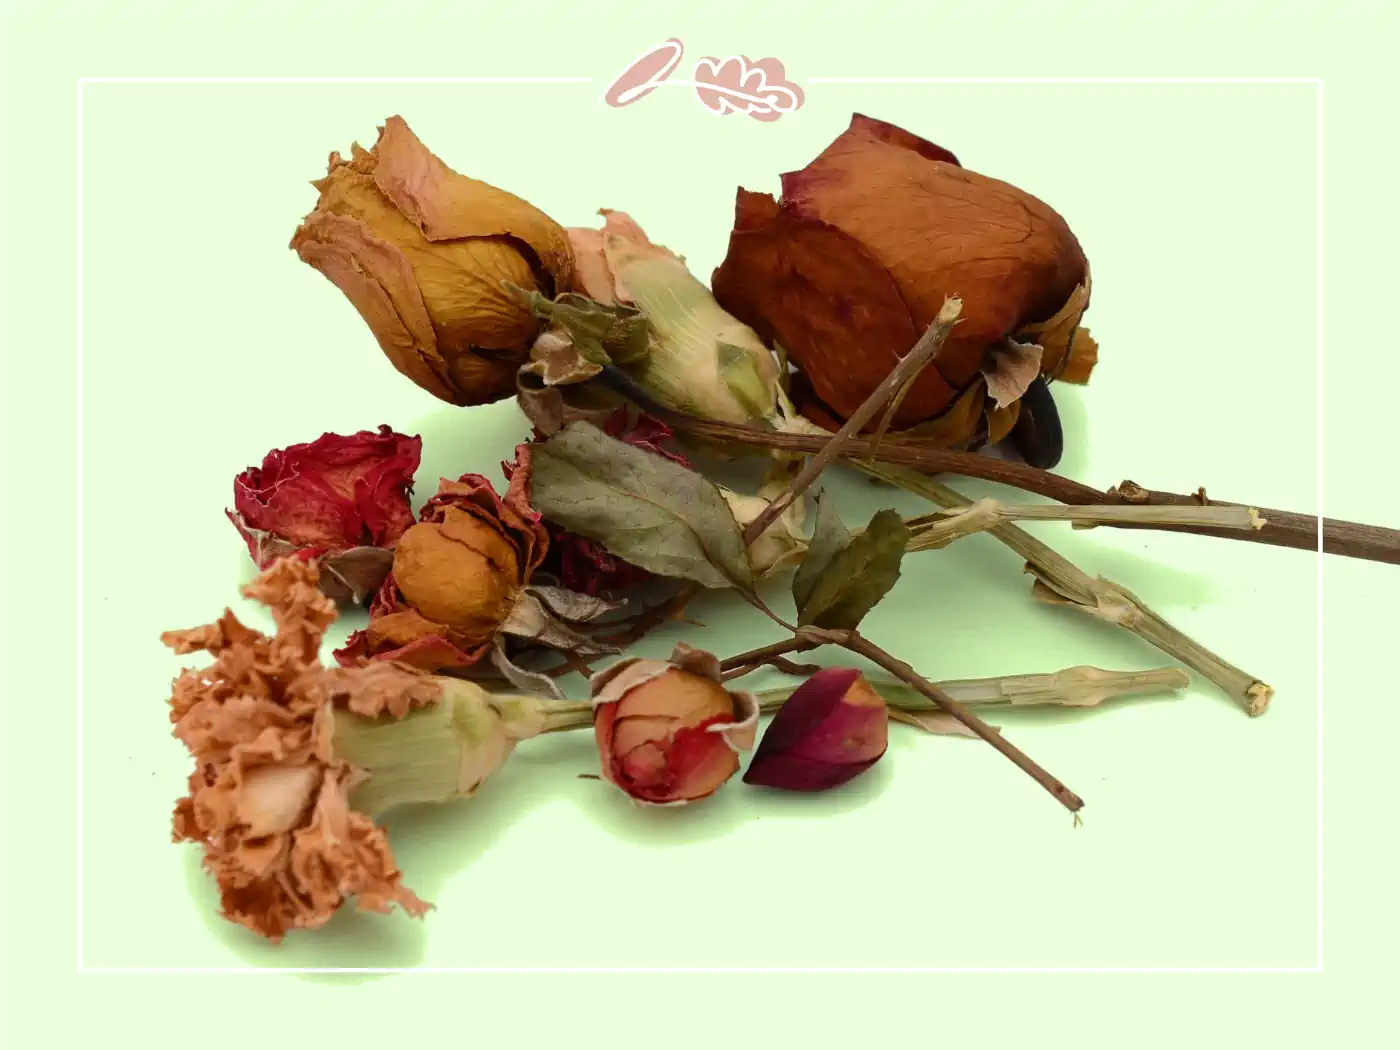
How to Hang Flowers to Dry
Hanging flowers upside down is a traditional and effective drying method used for air drying. Here's how to hang flowers by the air dry method:
Prepare the flowers: Remove excess foliage from the stems, leaving a few leaves near the top for aesthetic purposes. This helps promote better air circulation during drying.
Bundle the flowers: Take a small bunch and tie the stems together with twine or string. Make sure the bundle is not too large to allow proper air circulation.
Choose a suitable location: Find a dark, dry, and well-ventilated area for hanging the flower bundles. Avoid areas exposed to direct sunlight, which can cause the flowers to fade.
Hang the flowers upside down: Attach the entire flower or bundle to a hook or clothesline upside-down. This encourages even drying and helps the flowers maintain their shape.
Allow sufficient space: Ensure that the flower heads and bundles are not touching each other to prevent moisture transfer and potential mould growth.
Patience is key: Let the flowers hang undisturbed for several weeks, allowing them to dry naturally. Avoid checking on them too frequently, as this can disrupt the drying process.
Following these steps, you can successfully hang dry flowers with enough silica gel put on to dry and achieve beautiful results.
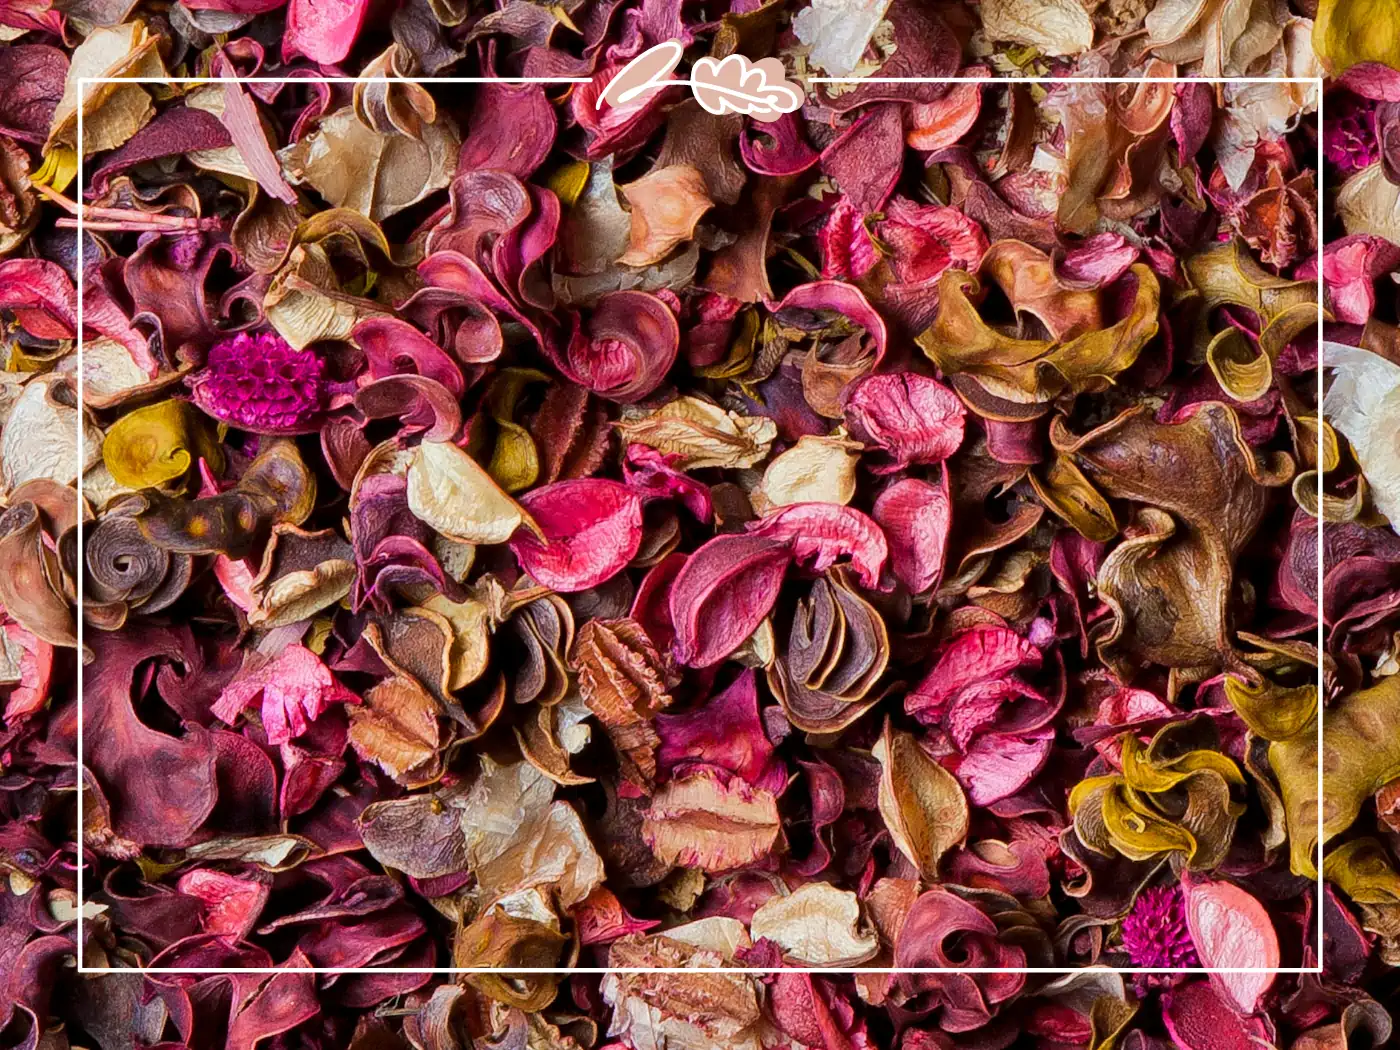
Drying Flowers in Silica Gel
Silica gel is a desiccant commonly used for drying flowers. It absorbs moisture efficiently and helps preserve the shape and colour of the dried blooms well. Here's how to dry flowers using silica gel:
Choose a container:
Choose a large container to accommodate the flowers you want to dry. Make sure the container has an airtight lid to create a sealed environment.
Prepare the flowers with silica gel: Pour a layer of silica gel into the container, ensuring it covers the bottom evenly. The layer should be about 1 inch thick.
Trim the flower stems: Trim the stems of most flowers to your desired length, removing excess foliage. This helps the flowers fit into the plastic container without touching the sides of the plastic container or each other.
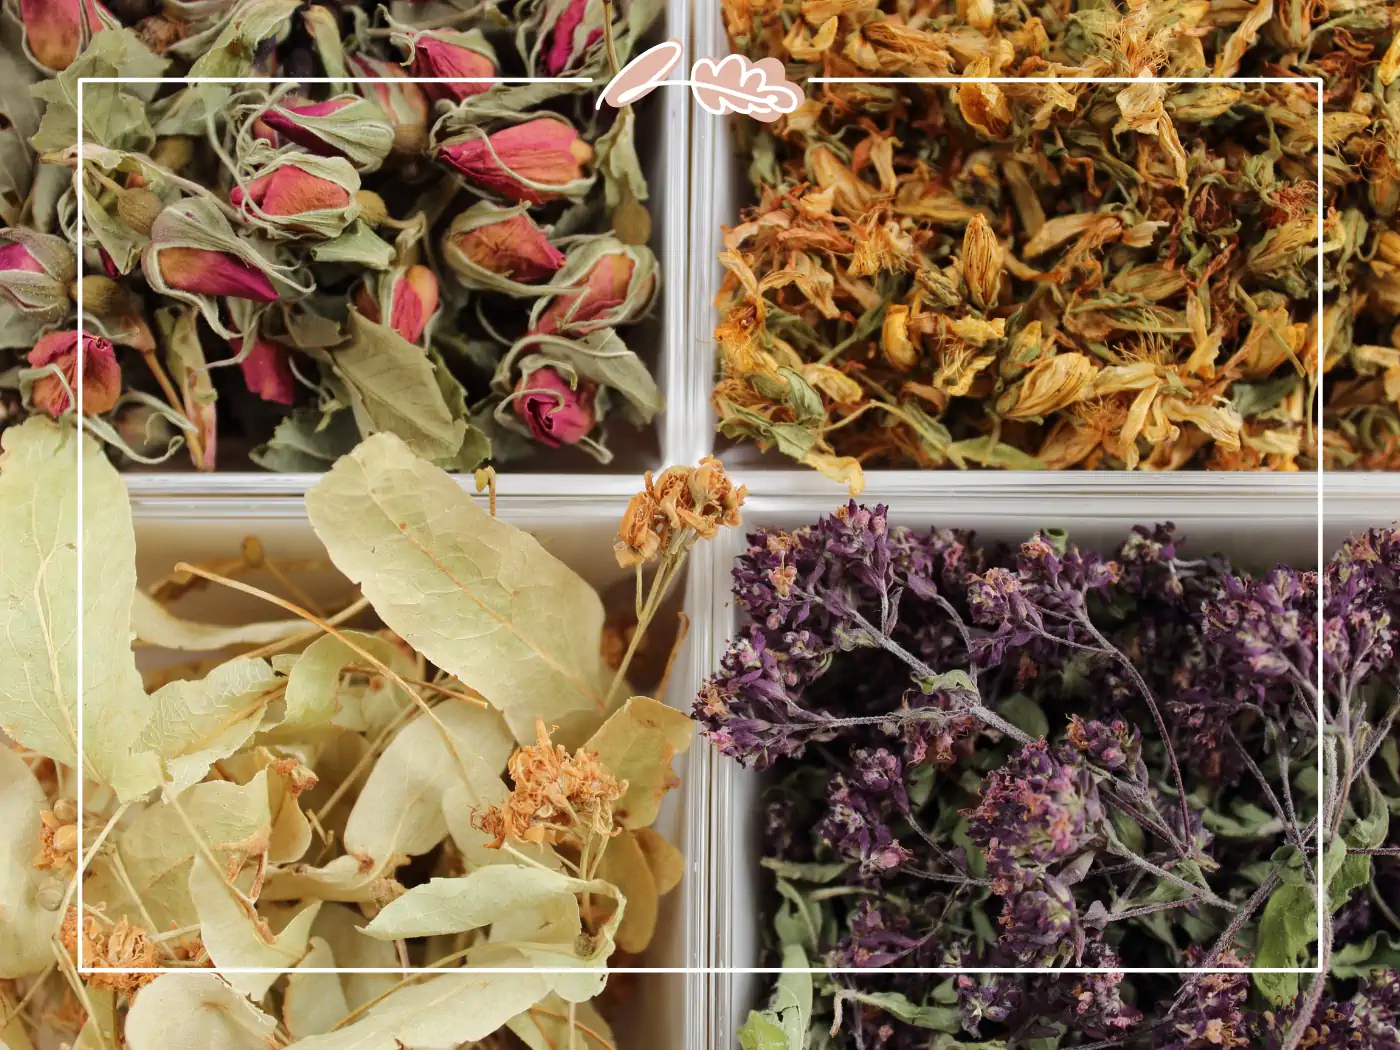
Place the dry flowers with the silica gel crystals in the container: Gently place them into the container, ensuring they are completely submerged in all the silica and gel. Use a small brush or spoon to carefully add more silica gel around and on top of the dry flowers with silica in, ensuring they are fully covered.
Seal the container: Close the container tightly with the lid to create a sealed environment. This allows the silica gel crystals to absorb moisture efficiently.
Wait for the drying process: Leave the container undisturbed for about one to two weeks, allowing the silica gel to absorb moisture from the flowers. The drying time may vary depending on the flower type and thickness.
Check for dryness: After the recommended drying time, carefully open the container and check if the flowers are dry. They should feel crisp to the touch and retain their shape and colour.
Remove the flowers with silica gel: Gently remove the flowers from the flowers with silica gel, brushing off any excess silica gel method up from the petals. Handle them with care to avoid any damage.
Drying flowers in silica gel is an effective method that helps preserve the natural appearance and shape of the flowers. It is especially useful for delicate flowers or intricate shapes and colours.
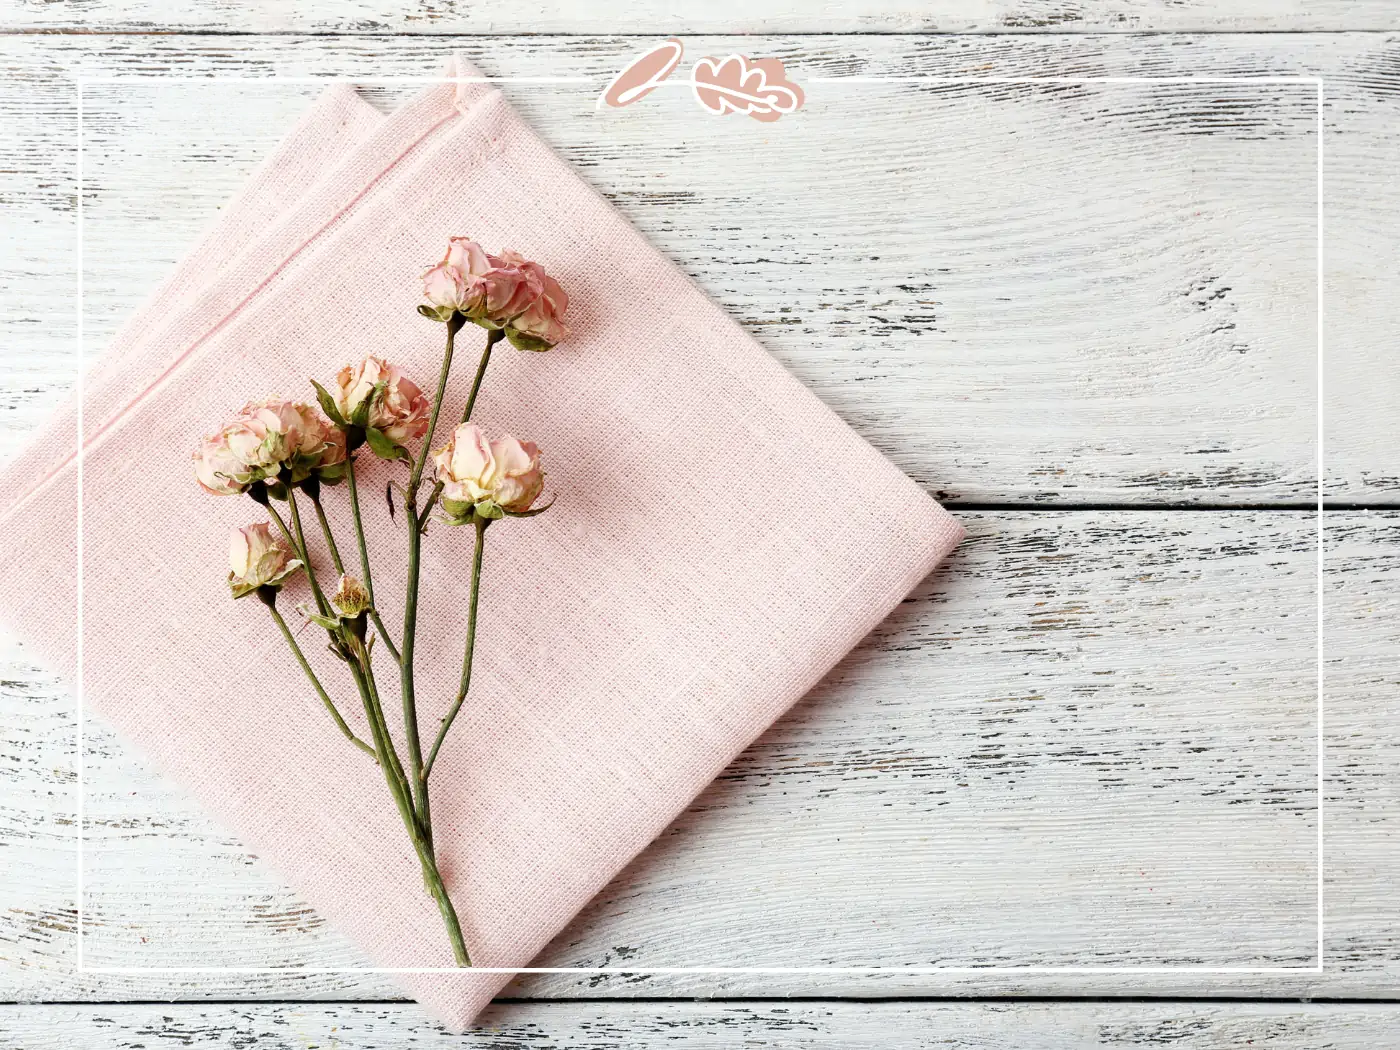
Using Sand to Dry Flowers
Sand is another popular drying agent that can be used to dry flowers. It absorbs moisture and helps maintain the natural shape and colour of the blooms. Here's how to dry flowers using sand:
Prepare a container: Choose a container deep enough to accommodate the flowers you want to dry. Ensure that it has a tight-fitting lid to create a sealed environment.
Choose clean, dry sand: Use clean, dry sand free from contaminants. You can find horticultural sand or play sand at garden supply stores. Avoid using beach sand, as it may contain salt or other impurities.
Pour a layer of sand: Pour a layer of sand into the container, covering the bottom evenly. The layer should be about 1 to 2 inches thick.
Trim the flower stems: Trim the stems of most flowers to your desired length, removing any excess foliage. This helps the smaller flowers to fit into the sand without touching the sides or each other.
Place the flowers in the sand: Gently insert them into the sand, ensuring they are fully submerged and supported by the sand. Arrange them in a way that showcases their natural beauty.

Cover the flowers with sand: Carefully pour more sand around and on top of them, ensuring they are fully covered. The sand helps absorb moisture from the flowers during the drying process.
Seal the container: Close the container tightly with the lid to create a sealed environment. This helps prevent moisture from entering and allows the flowers to dry effectively.
Wait for the drying process: - Leave flowers in the container undisturbed for about one to two weeks, allowing the sand to absorb moisture from the flowers. The drying time may vary depending on the flower type and thickness.
Check for dryness: After the recommended drying time, gently remove the flowers from the sand and check if they are fully dry. They should feel crisp to the touch and retain their shape and colour.
Drying flowers using sand is an excellent method for preserving their natural beauty and shape. It is particularly useful for flowers with delicate petals or intricate forms.
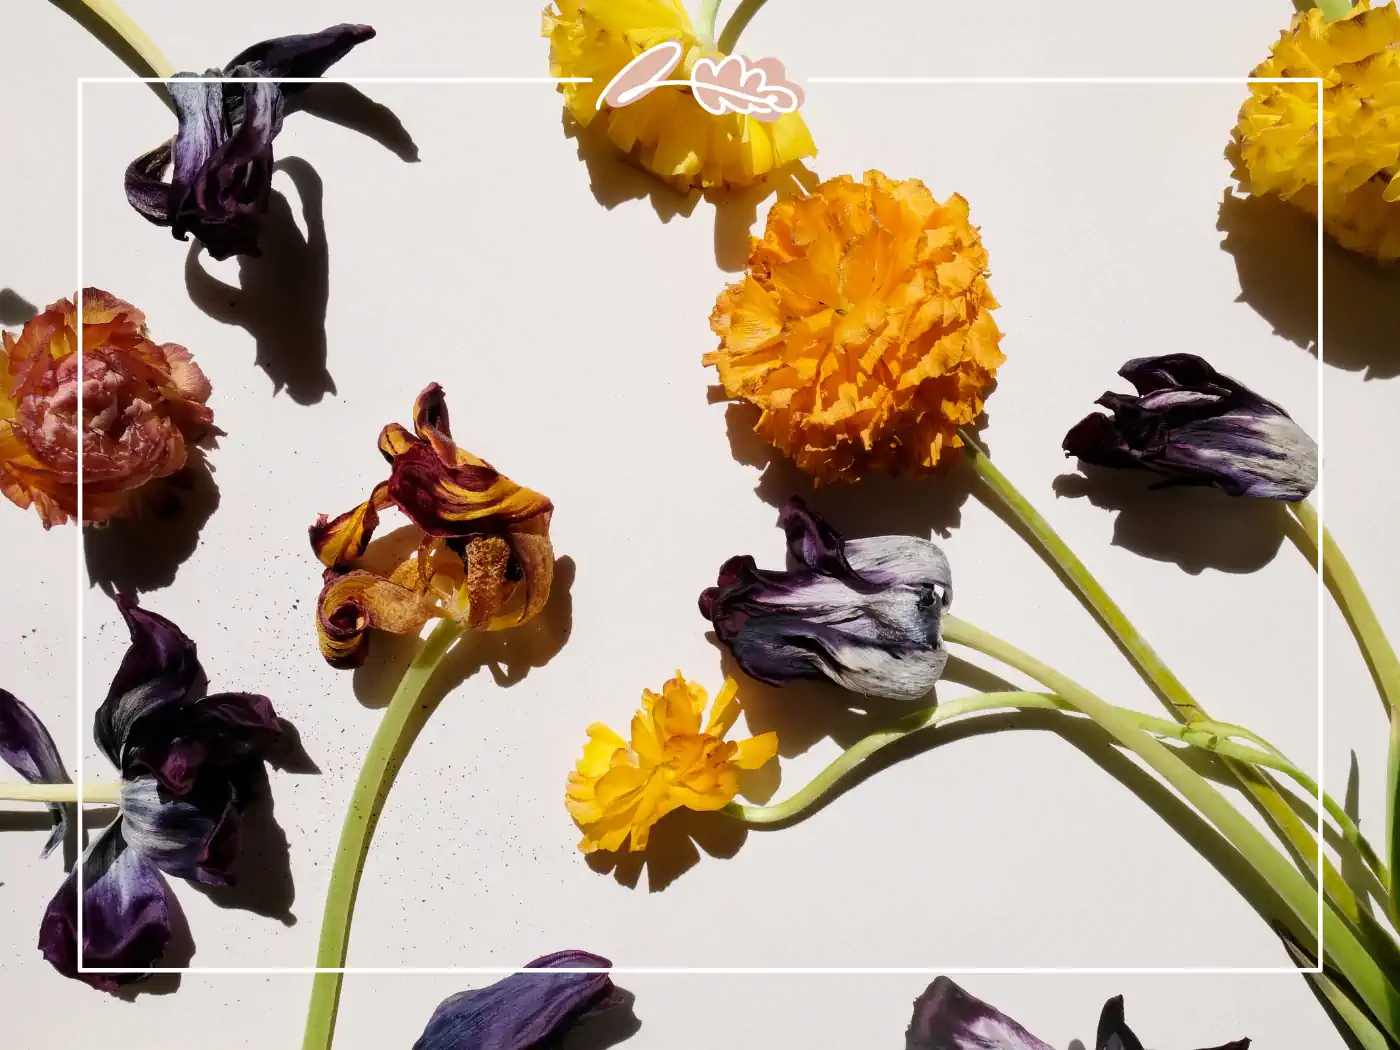
Storing Dried Flowers
Proper storage is crucial for maintaining the quality and longevity of dried flowers. Follow these guidelines to store dried flowers effectively:
Choose an airtight container: Select an airtight container that removes moisture and dust. Glass jars or plastic containers with tight-fitting lids work well for storing dried flowers.
Add desiccant packets: To prevent moisture buildup and protect against mould, consider adding desiccant packets to the storage container. These packets help absorb any residual moisture that may be present.
Store in a cool, dark place: Place the container in a cool and dark area away from direct sunlight. Sunlight can cause the colours of the dried flowers to fade over time.
Avoid using a wedding bouquet of flowers in high-humidity areas: Keep the container away from areas with high humidity, such as bathrooms or kitchens. High humidity can lead to mould growth and deterioration of the dried wedding bouquet flowers.
Handle with care: When handling and storing dried flowers, be gentle to avoid damaging the delicate petals or altering their shape.
By following these storage guidelines, you can ensure that your dried flowers remain beautiful and well-preserved for an extended period.
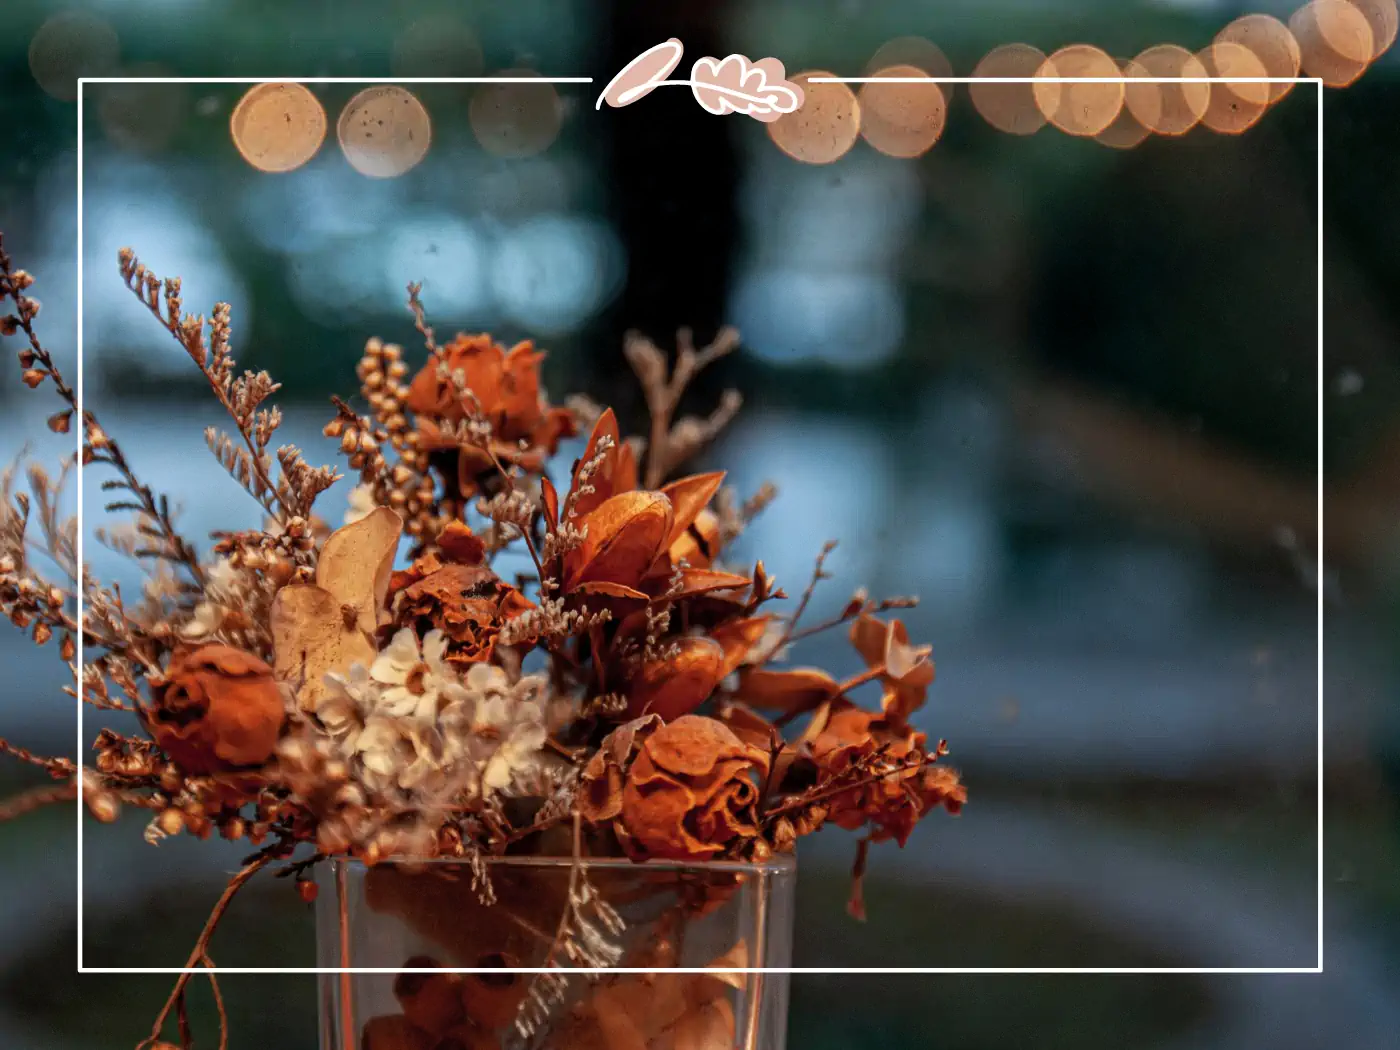
FAQ: Drying and Preserving Flowers
What is the best way to dry fresh flowers?
Air Drying: Remove excess foliage, bundle flowers, and hang upside down in a dark, dry, well-ventilated area for 2-3 weeks.
How do you dry flowers and keep their colour?
Silica Gel: Bury flowers in silica gel in an airtight container for 1-2 weeks.
Microwave with Silica Gel: Microwave flowers in silica gel on low heat in short intervals until dry.
How to make dried flowers last longer?
Avoid Sunlight: Keep out of direct sunlight.
Keep Dry: Store in a dry place.
Dust Regularly: Use a gentle brush or cool hairdryer.
Use Sealant: Spray with floral sealant or hairspray.
How do florists dry flowers?
Methods: Air drying, silica gel, pressing, and using glycerin.
How long do dried flowers last?
Duration: Months to several years with proper care (cool, dry place, regular dusting).
How to keep flowers in a jar?
Dry First: Use air-drying or silica gel.
Seal: Place dried flowers in a clean, dry jar and seal tightly. Store in a cool, dry place away from sunlight.


