


Create Your Flower Crown in 10 Simple Steps
UPDATED JUNE 2024
A DIY flower crown exudes a gentle and elegant aura, making anyone feel graceful and beautiful. If you want to create your floral headband, look no further than check out our guide, Create Your Flower Crown Online in 10 Simple Steps. Follow these ten easy steps to craft a beautiful flower crown, and purchase all necessary materials online from Fabulous Flowers in Cape Town.
Materials Needed for Your Headband
- 2 pieces of thick yet bendable green floral wire
- Green florist tape
- A good pair of scissors
- Ribbon
- Flowers: Roses, Asters, Statice, Viburnum, lace flowers, and heather (All available at Fabulous Flowers, except the glue gun and scissors) we also have a variety of artifical and silk flowers.
Step 1: Wrapping the Wire with Florist Tape
Begin by tightly wrapping floral tape around one end of each piece of wire, ensuring it is secure. Wrap the tape to approximately 10 cm on each wire, though you can adjust the length based on personal preference. This step provides a sturdy base for your flower crown and helps the wire keep its shape while holding the flowers in place.
Step 2: Forming the Loops of Your Headband
Next, form a loop at the end of each wire by bending the taped end in half. Ensure both sides are aligned properly, and the loop is neat and secure. The loop size can be adjusted based on personal preference, but make sure both loops are the same size for a balanced and symmetrical flower crown base.
Step 3: Securing the Loops of Your Headband
Secure the loops by wrapping florist tape around them several times. This step ensures the loops are tightly fastened and capable of holding the flowers and greenery in place. The tape should be wrapped smoothly and evenly, covering the entire loop to give a clean and polished look, essential for a beautiful floral arrangement.
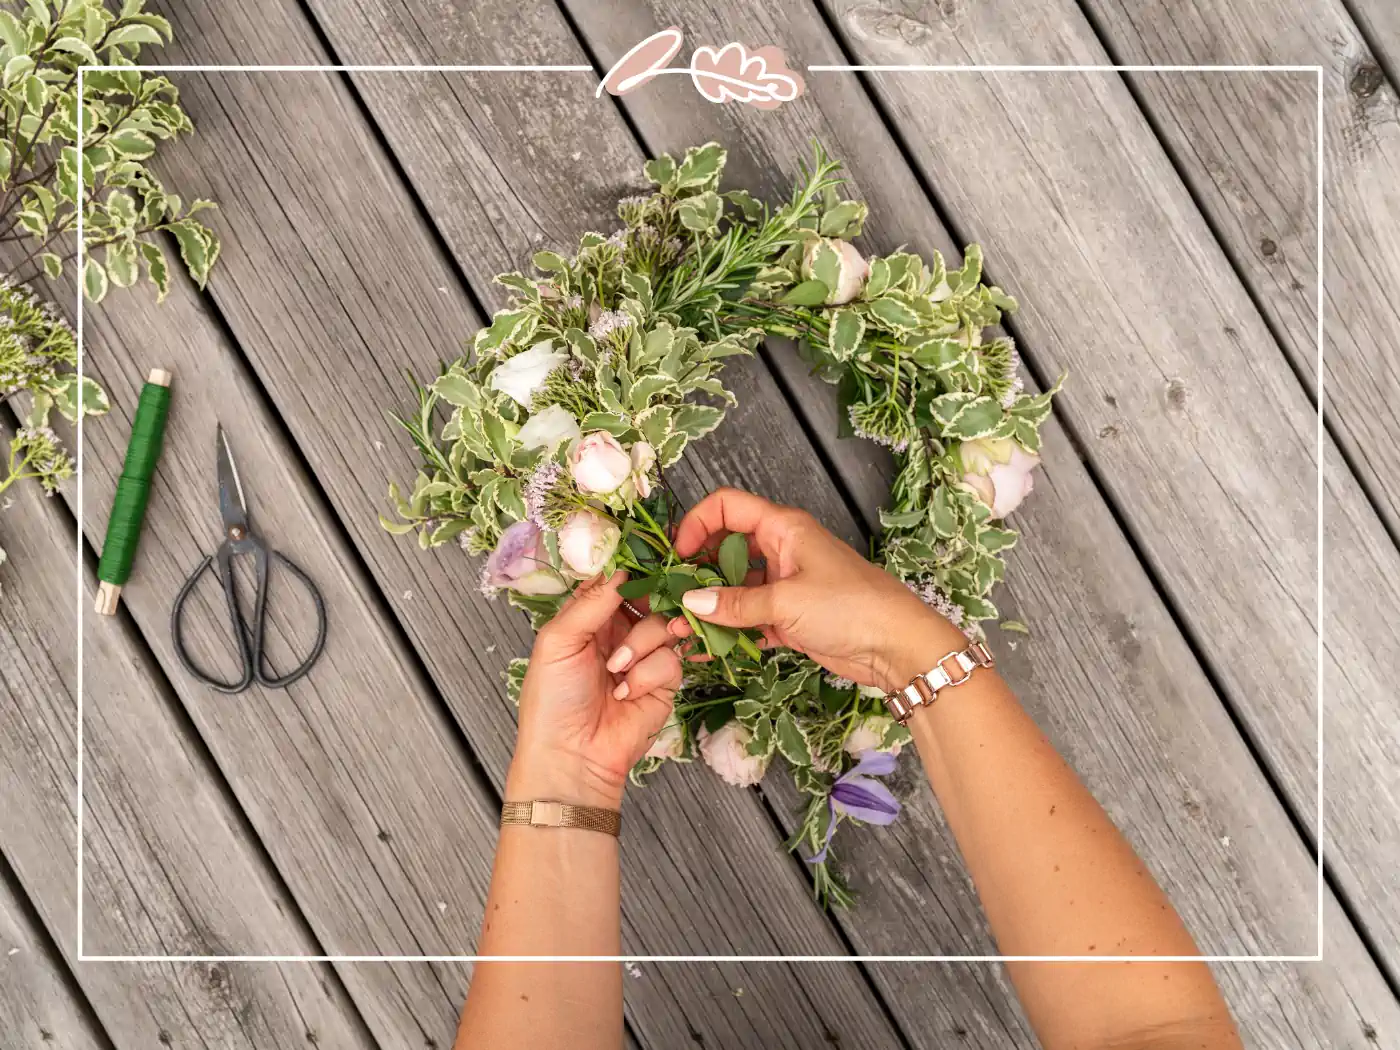
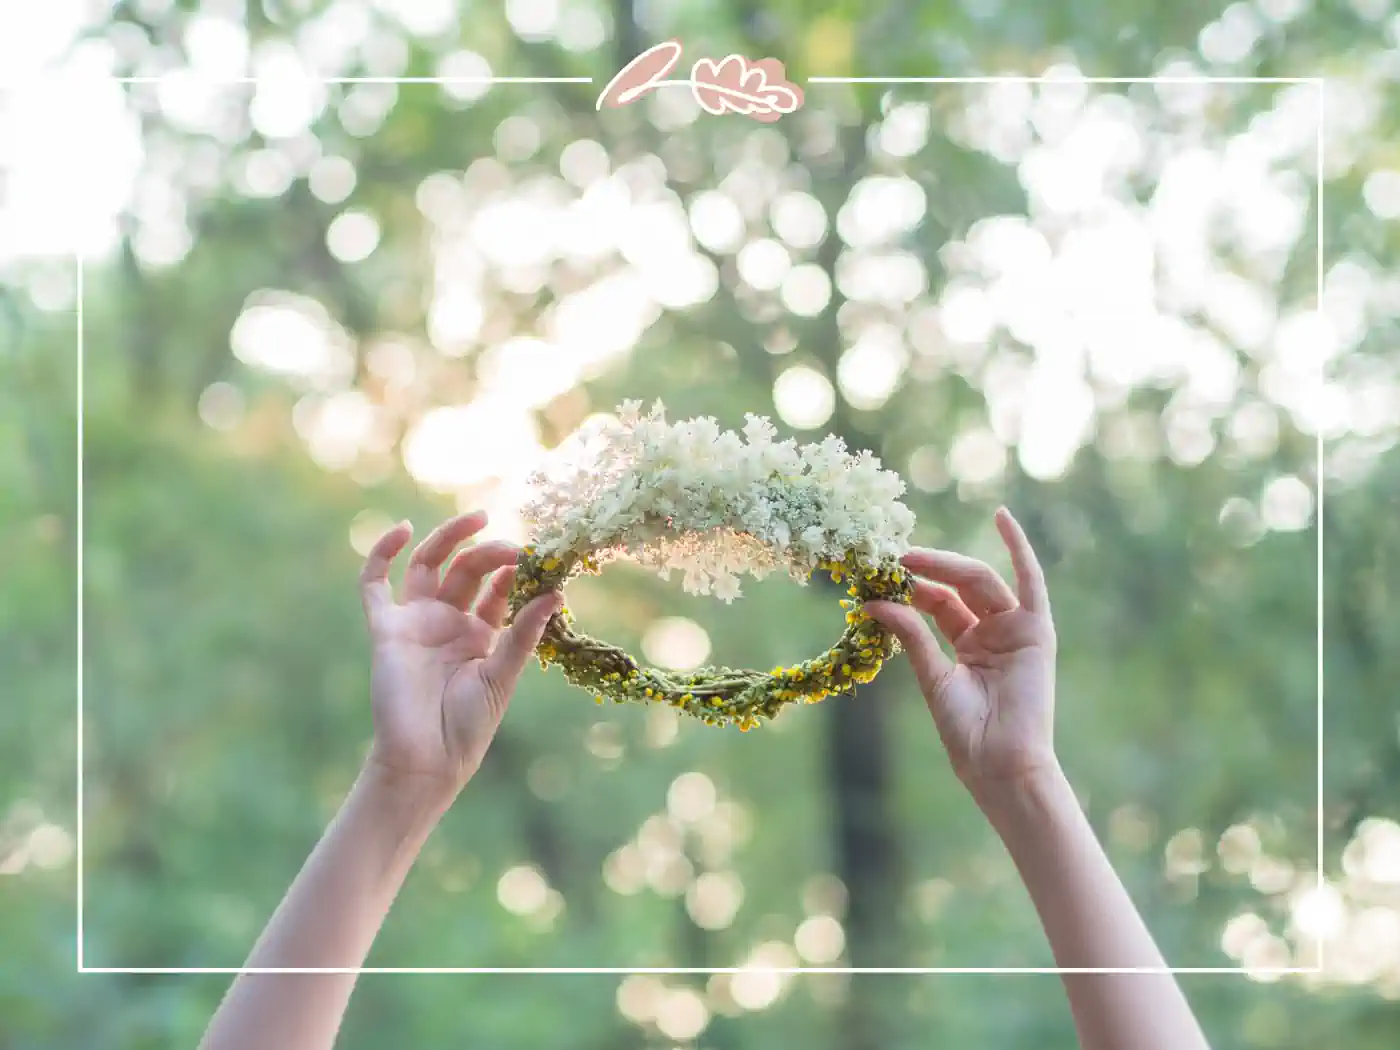
Step 4: Decorating with Greenery
With a sturdy base ready, start decorating with greenery. Choose your greenery, such as Viburnum, Pennygum, or Ivy. Attach the greenery by wrapping the plant stem tightly around the wire using florist tape. Distribute the greenery evenly around the crown to help create a balanced look.
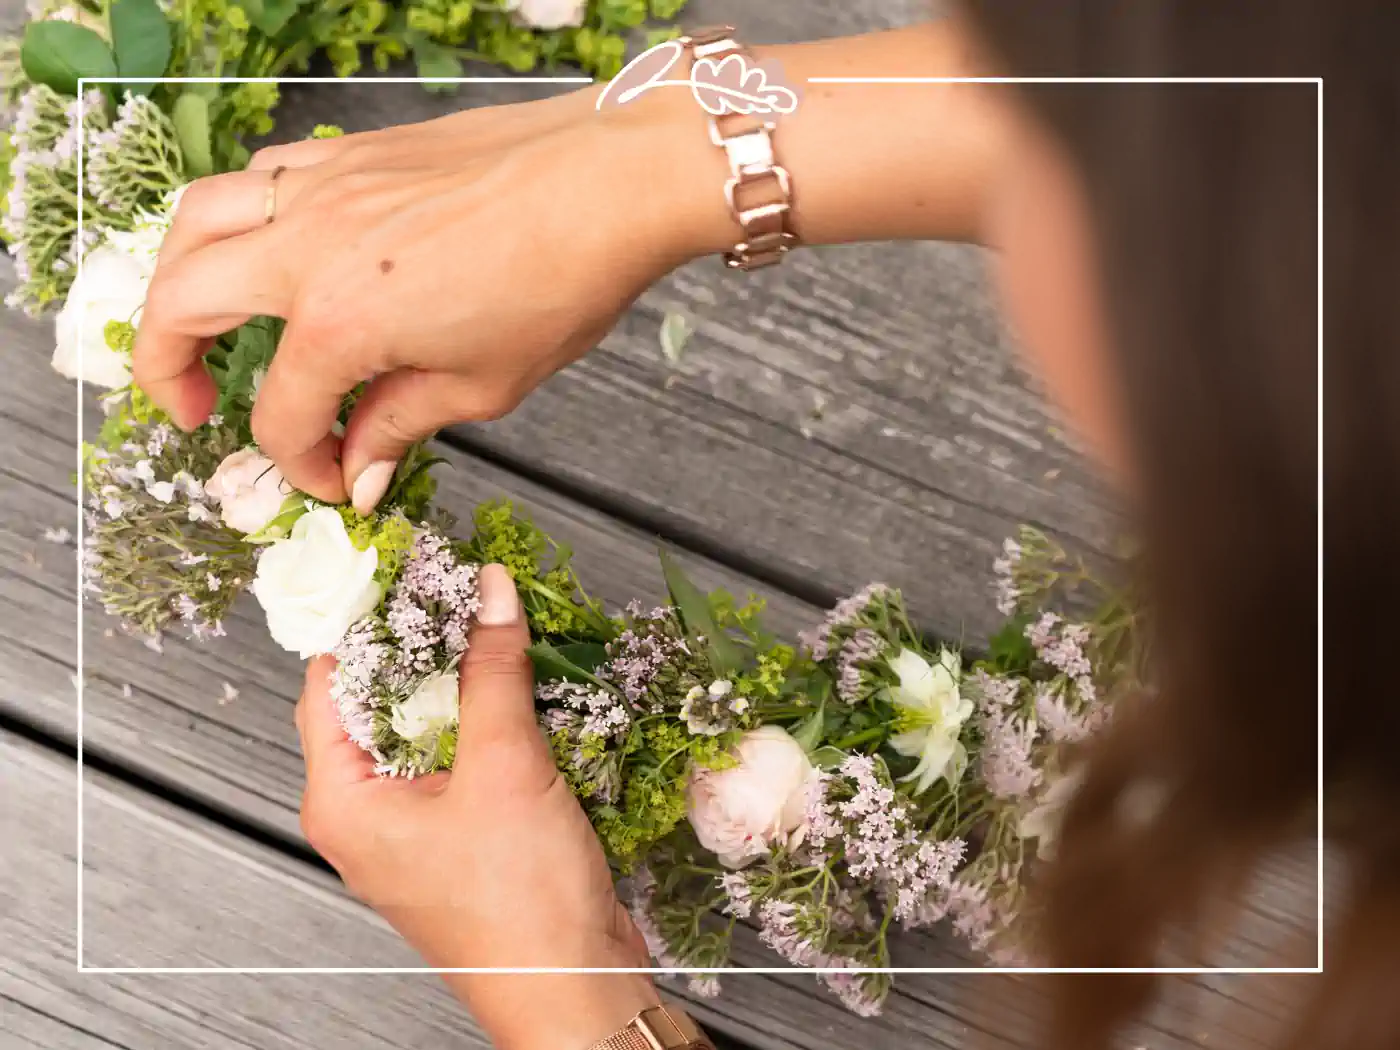
Step 5: Adding Flowers
Now it’s time to add flowers to match your crown and explore your floral design skills. Select your flowers and wrap their stems around the wire tightly using florist tape. Start at one end and work your way down, leaving the loops exposed on either end. Pair a rose with or add some lace or heather to create a fuller look. Ensure the flowers are securely attached and evenly distributed around the crown.
Step 6: Continue Adding Flowers
Keep adding more flowers down the wire to enhance and match your flower arrangement until your crown is filling up nicely. Ensure that the flowers are evenly spaced and securely fastened to create a cohesive look.
Step 7: Using a Glue Gun for Hard-to-Reach Areas
As your crown gets fuller, it may become challenging to wrap the florist tape around it. When crafting, use a glue gun to attach flowers to the wire in areas that are hard to find or reach.
Step 8: Filling in the Gaps
When most of your chosen flowers are attached, use floral glue to fill in any gaps. Break the stems off the flowers and attach the remaining section with a blob of glue to ensure a full and even appearance.
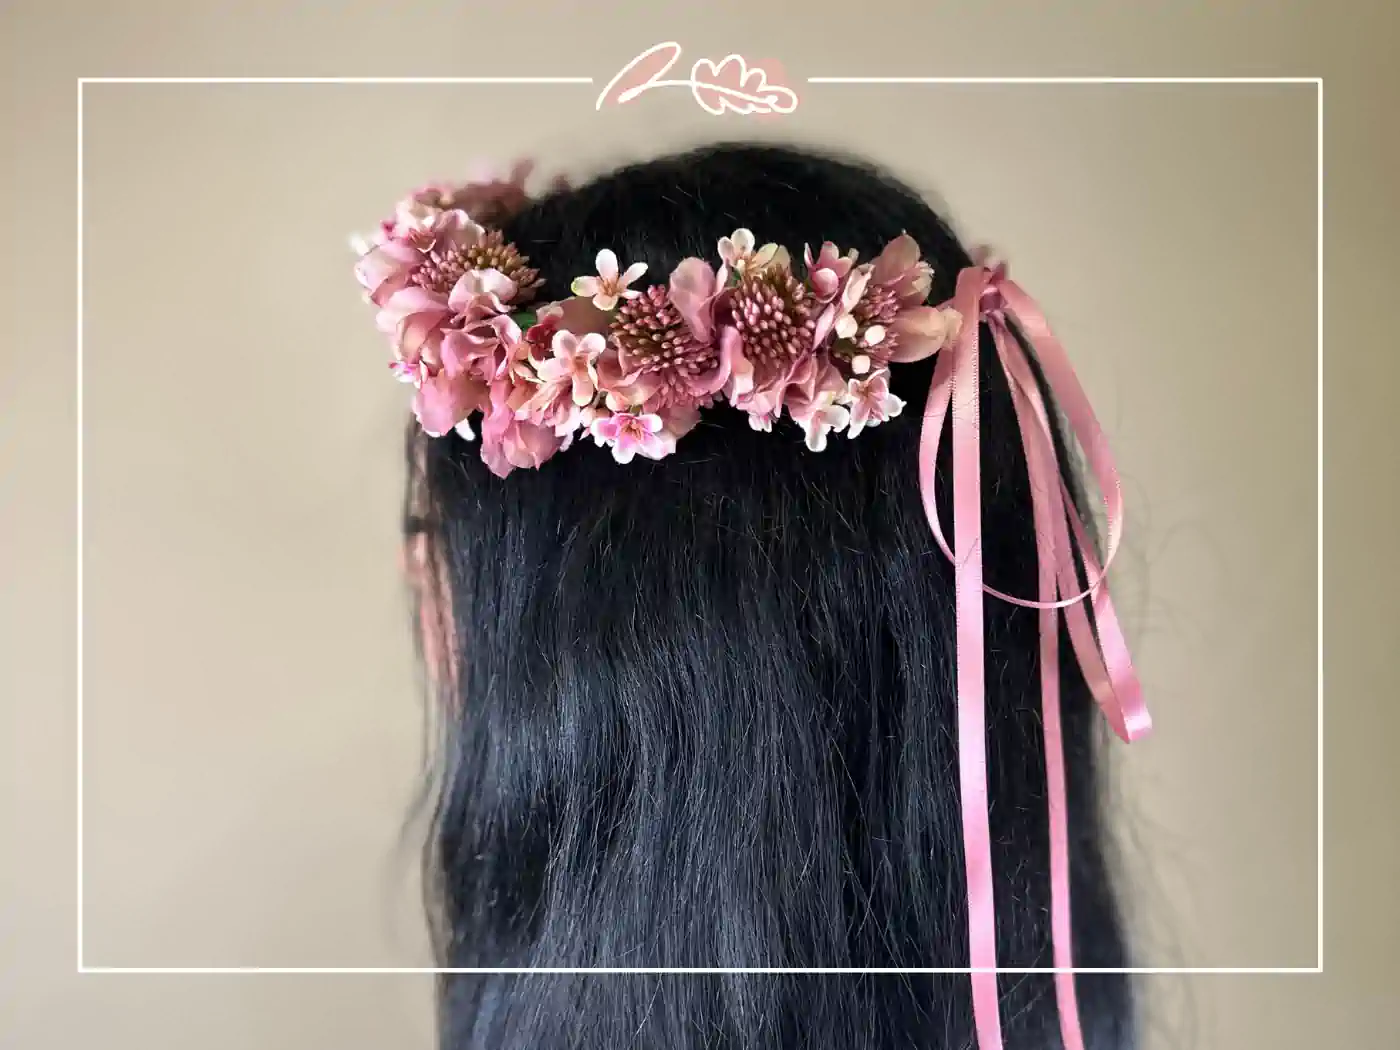
Step 9: Adding Ribbon for Adjustability
Measure a piece of ribbon to roughly 30 cm and thread it through each loop. This will make your headband crown adjustable and allow you to tie it in or add a bow at the back. The crown should sit comfortably on your head.
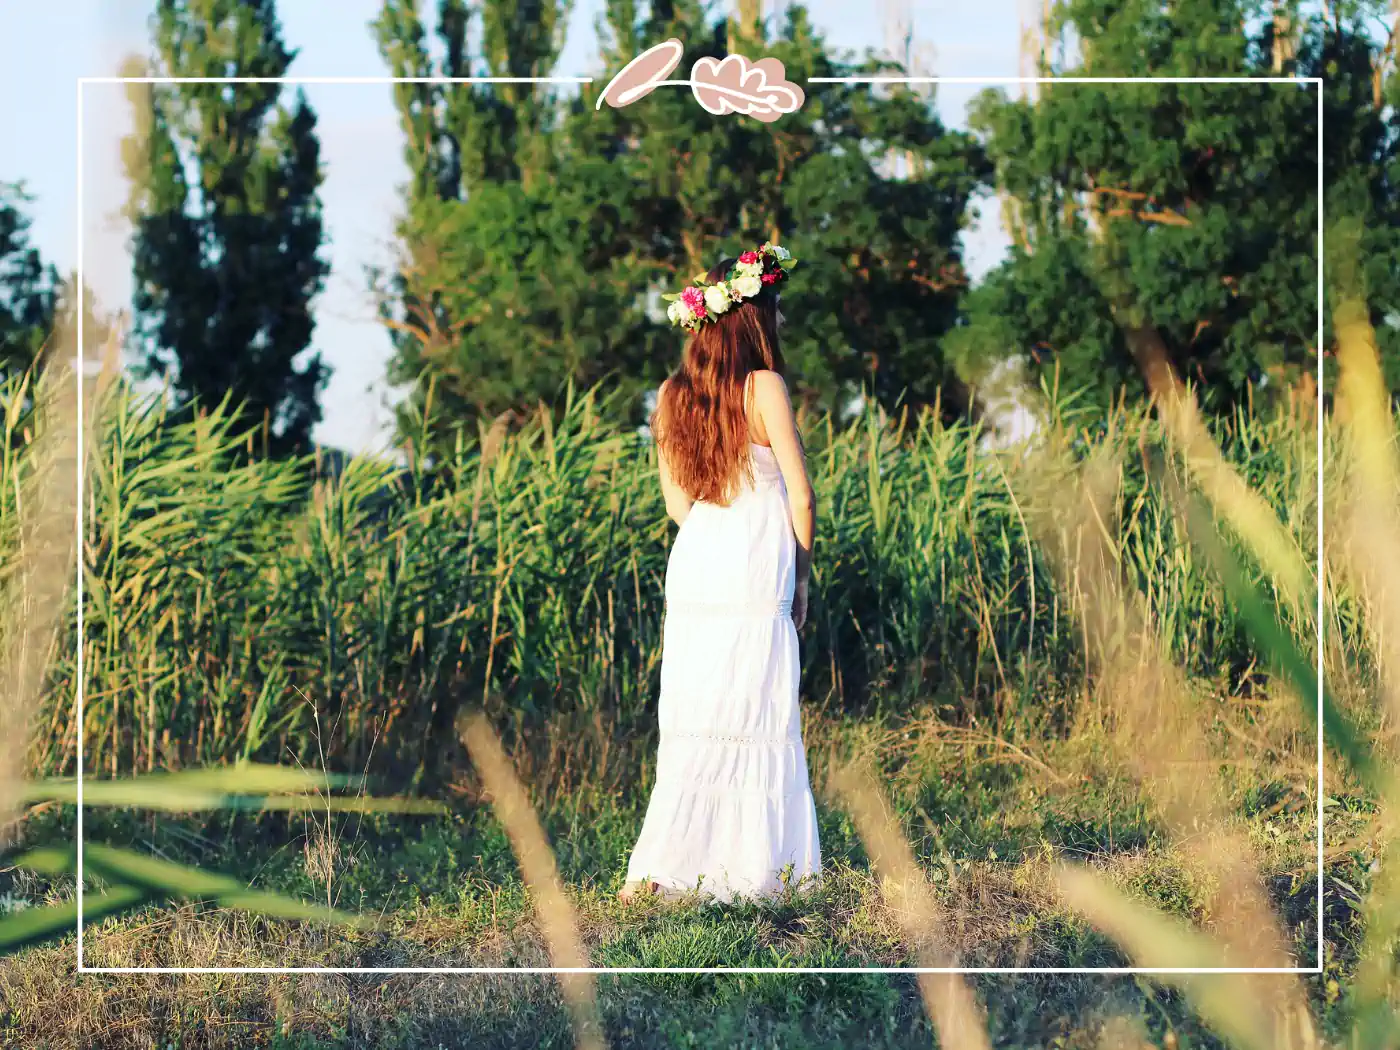
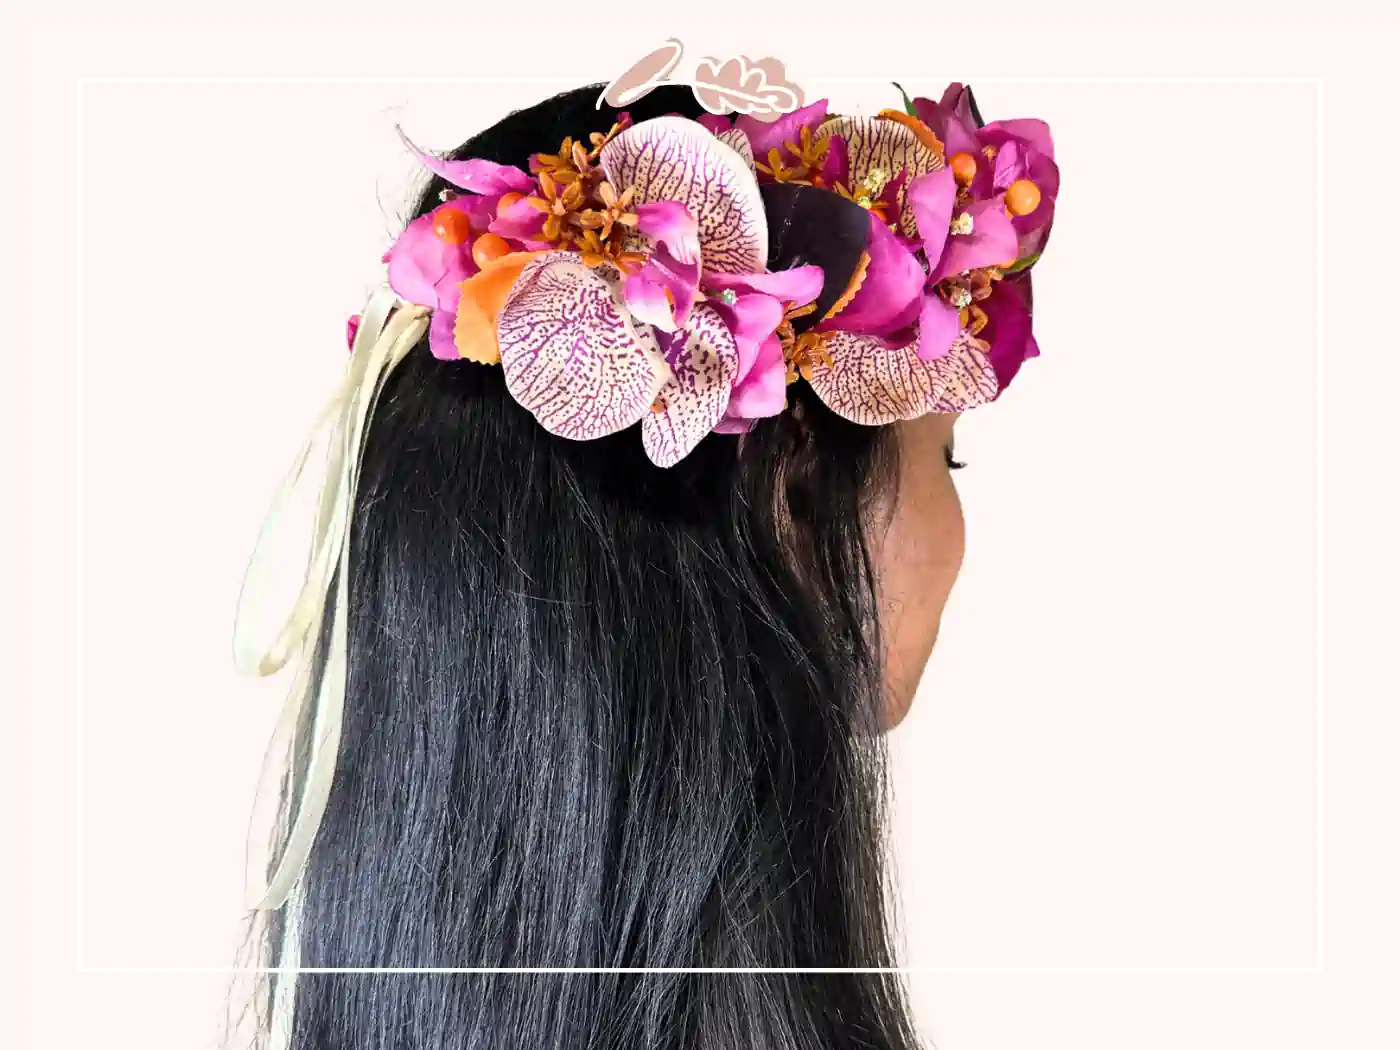
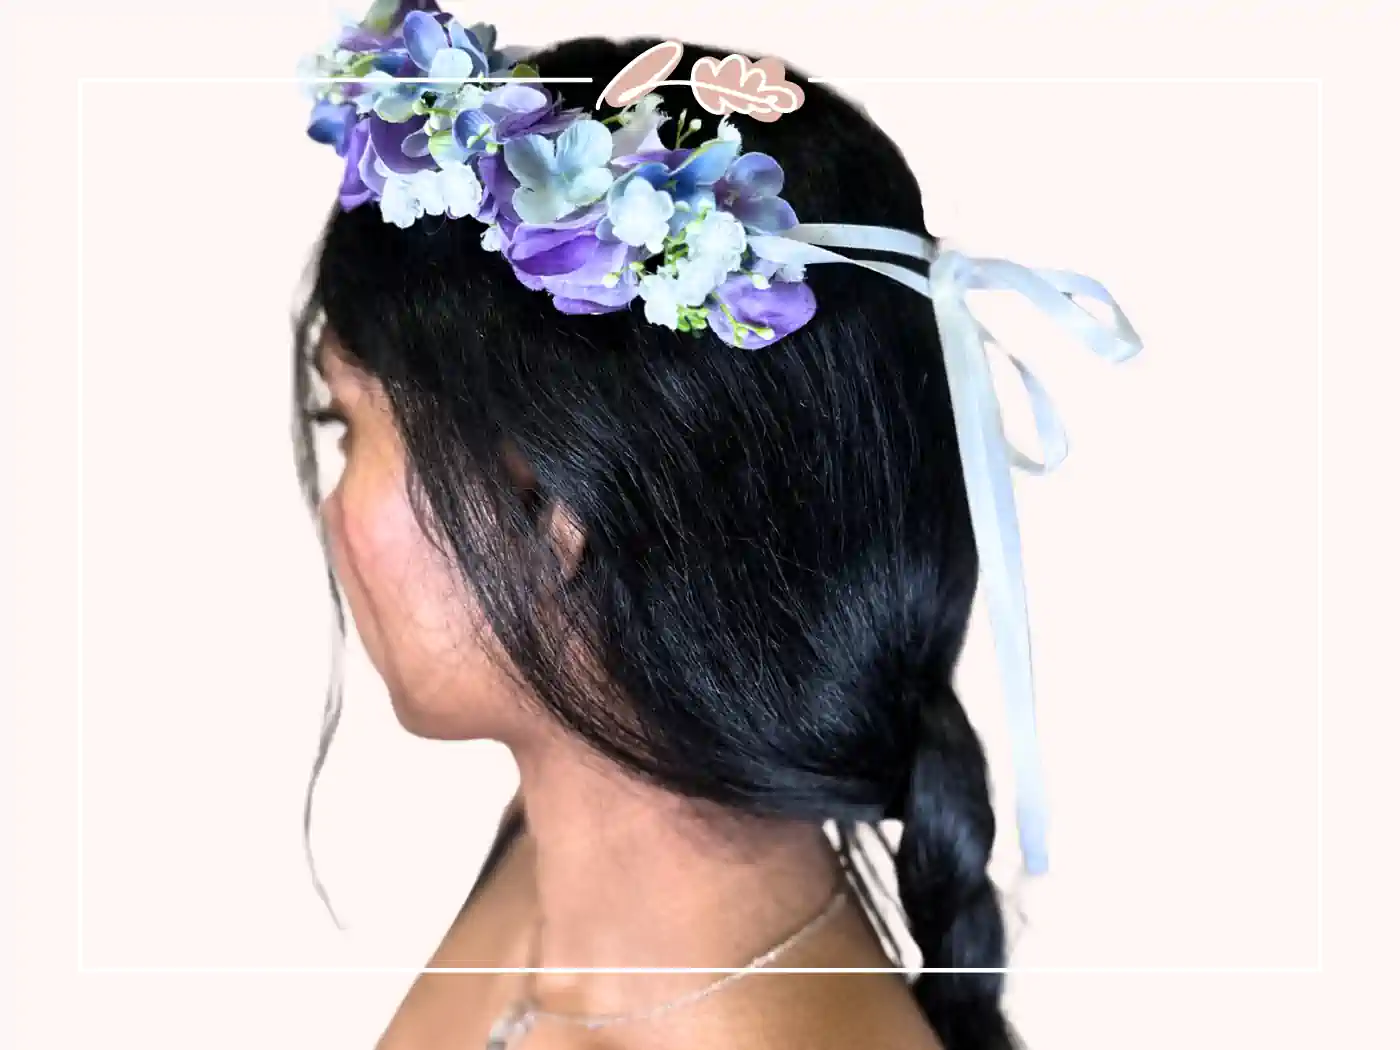
Step 10: Wear Your Beautiful Flower Crown in Your Hair
Voila! Your beautiful floral accessory, the flower crown, is now ready to wear with pride. A flower crown adds beauty to any outfit and is perfect for any occasion.
Remember, all the materials and accessories you need (except the glue gun and scissors) and flower of course, which are available at Fabulous Flowers in Cape Town. Visit our shop or purchase flowers and gifts online, including same-day delivery to various areas such as Constantia, Rondebosch, and Newlands. Be sure to account for the quality and freshness of our blooms, ensuring your flower crown is as stunning as possible.
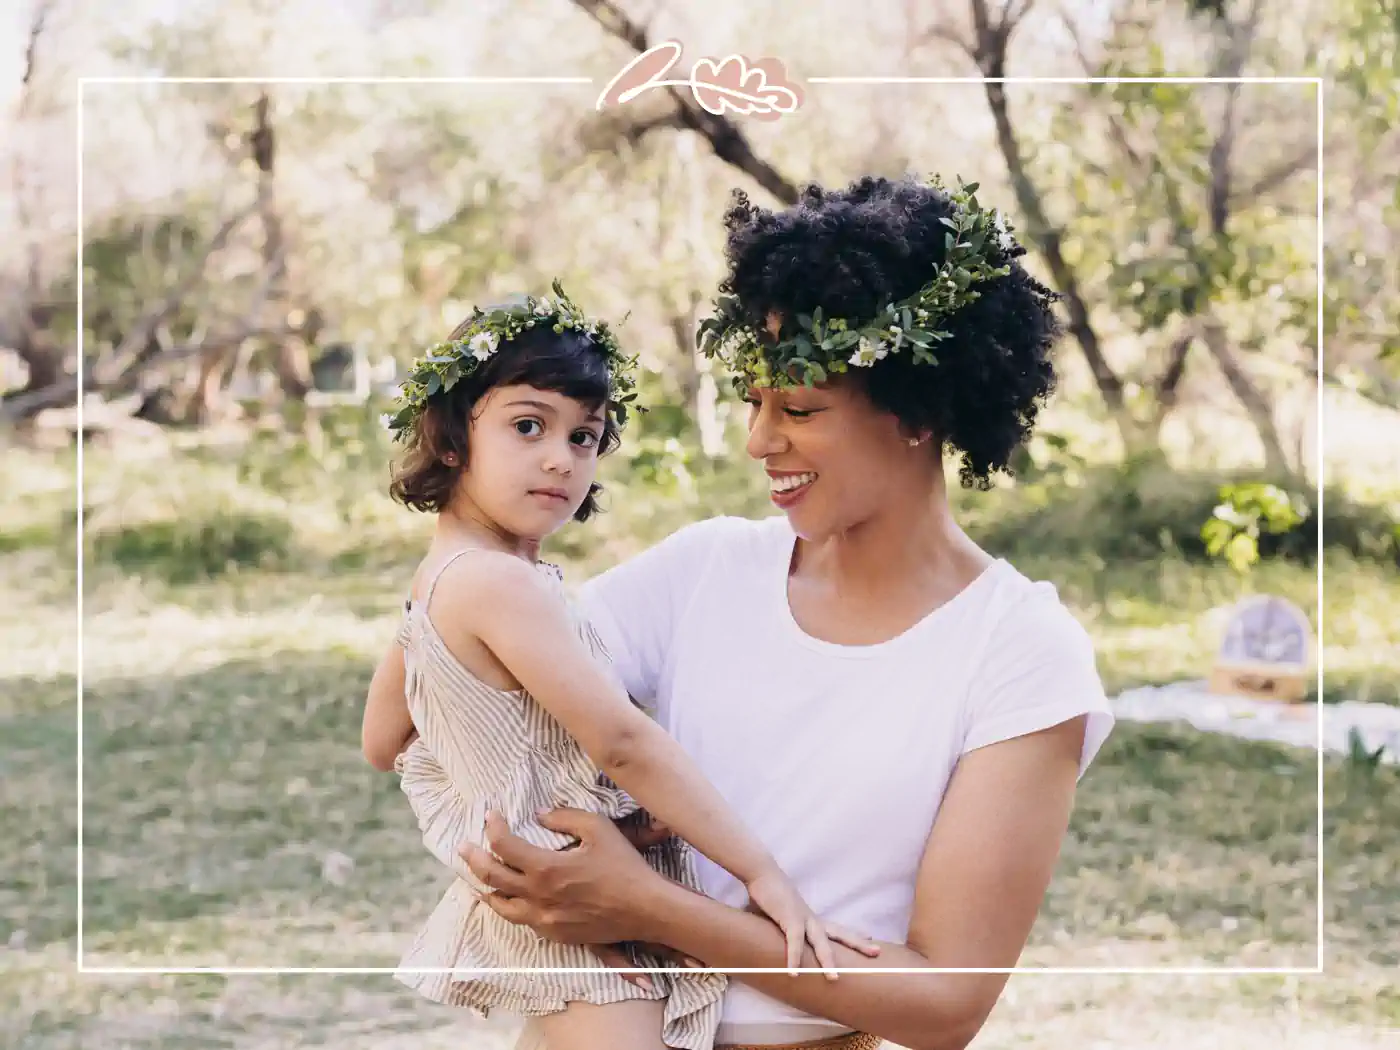
Flower Crowns
A floral headpiece brings a softness and elegance that makes you feel like a true flower queen. Share your unique flower crowns with us on Instagram or any of our communication channels. We love hearing from you and seeing your beautiful creations!
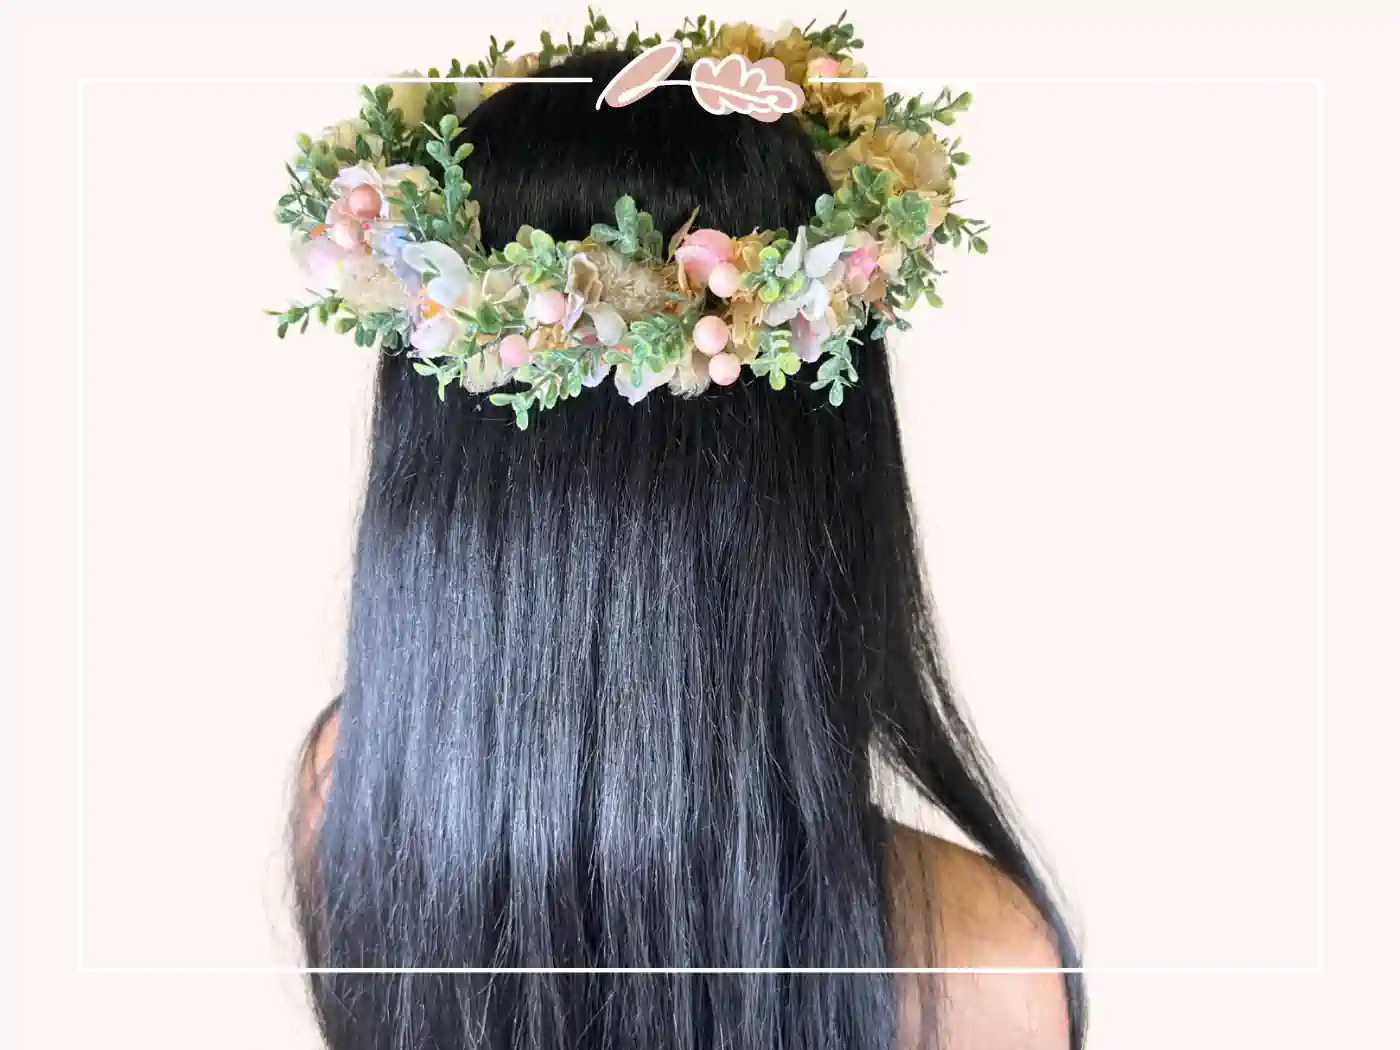
Discover Our Ready-Made Flower Crowns
If you find you don’t want to make your own, Fabulous Flowers offers a stunning collection of pre-made flower crowns. Each crown is expertly crafted with the same luxurious care and attention to detail as our DIY guide. Perfect for any special occasion or to simply add a touch of elegance to your everyday look, our flower crowns and accessories are available for purchase online and in our Cape Town shop. Visit us to find the perfect floral accessory that matches your style.
Explore More Accessories
If you loved this DIY project, don’t forget to subscribe to receive our newsletter for more exciting ideas and exclusive offers on floral accessories. Visit our online shop to add items to your cart, check your orders, and confirm your purchases. Fabulous Flowers offers women a variety of elegant accessories to match any outfit, perfect for women who appreciate luxury and comfort.
For help or inquiries, please view our FAQ or contact or email us via email. Your satisfaction is our top priority, and we are here to assist you at any time.
Start creating your flower crown today and receive compliments on your unique, handcrafted accessory. Happy crafting!